How to Set Monitor Height: The Exact Starting Formula
Set monitor height, distance and angle together with a practical formula for single screens, large monitors, dual displays, laptops and progressive lenses.
What to know first
- Neutral, supported positions matter more than perfect posture.
- Movement throughout the day is part of the setup.
- Persistent pain deserves advice from a qualified clinician.
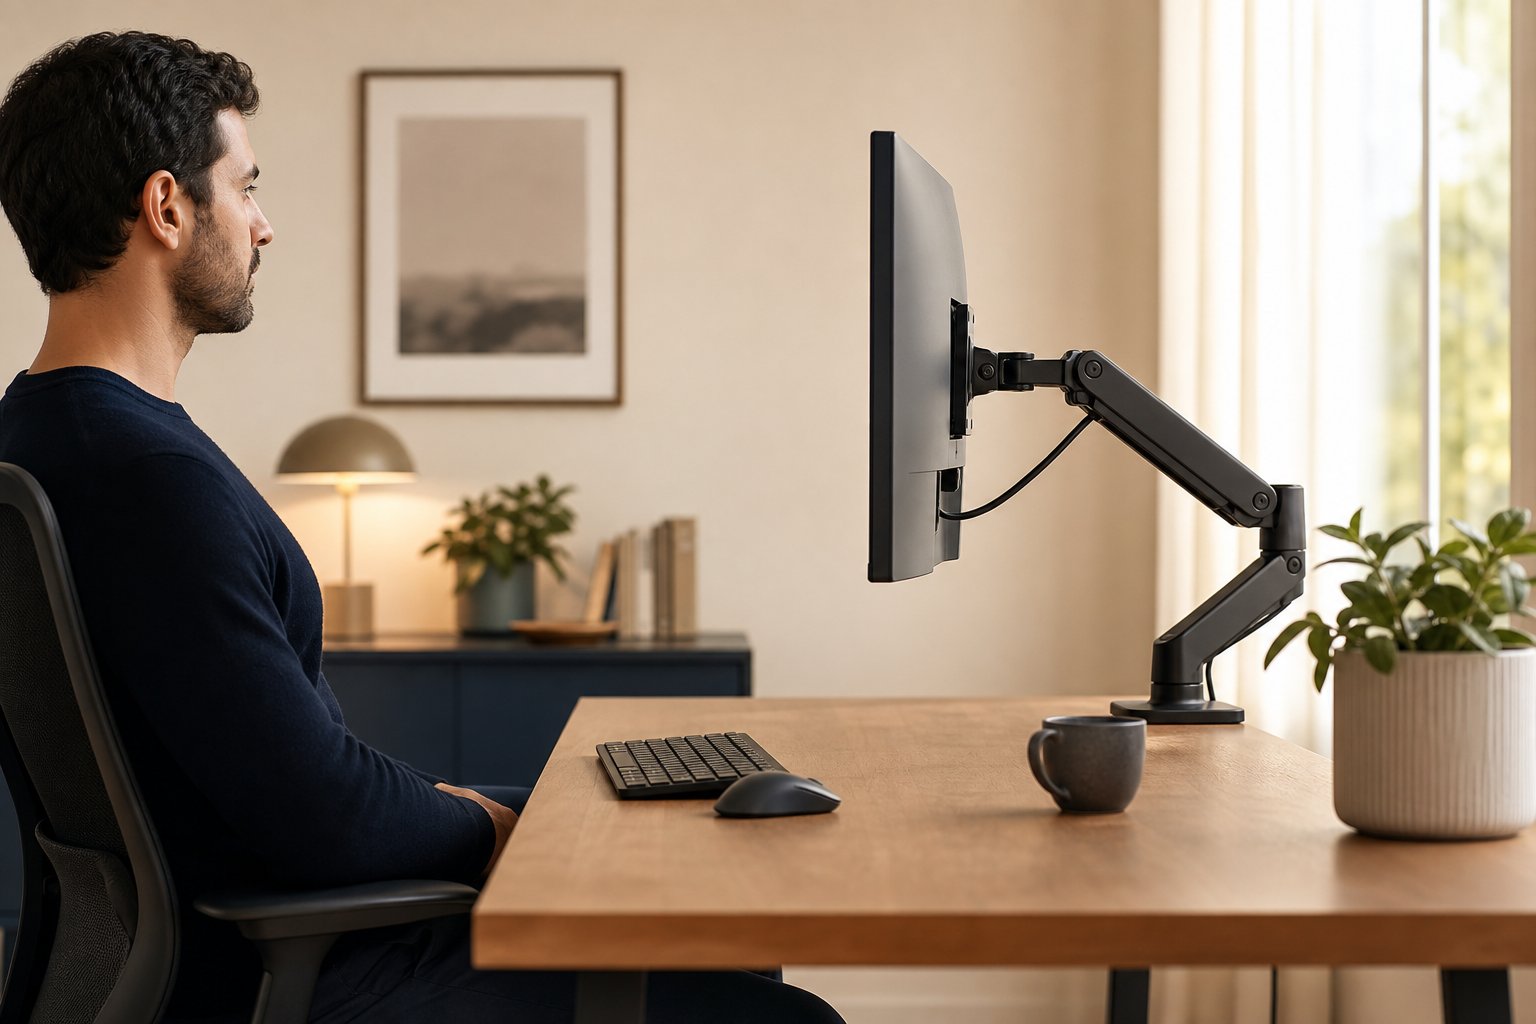
The correct monitor height is the position that lets you read the whole working area with your head balanced and your back supported. For most people using a typical desktop display, a strong starting point is the top of the active screen at or slightly below eye level, with the center of the screen below straight-ahead gaze.
Height alone is not enough. Screen distance, text size, tilt, monitor size, vision and the way you use multiple displays all affect the final position.
The monitor-height formula
Use this five-step setup sequence:
- Sit in the supported position you actually work in.
- Place the primary screen directly in front of your torso.
- Set the top of the active display at or slightly below eye level.
- Move the screen to a comfortable reading distance—often roughly 50 to 100 cm for desktop monitors.
- Increase text scaling, then fine-tune height and tilt without leaning or tipping the head.
The OSHA monitor guidance gives a general preferred viewing range of 20 to 40 inches and places the top line at or below eye level. It also emphasizes that the screen must be readable while the head, torso and back remain supported.
Treat those numbers as an initial range. Your display, text, eyesight and task determine the useful final position.
Step 1: Set the chair and keyboard first
Monitor height depends on seated eye level, and seated eye level changes when you adjust the chair. Complete these steps before touching the monitor:
- Support the feet on the floor or a footrest.
- Set chair height so the keyboard and mouse can be used with relaxed shoulders.
- Sit against the backrest.
- Choose the recline or upright position used for most screen work.
Now look straight ahead without lifting or dropping your chin. That line establishes eye level for the monitor adjustment.
If you reposition the chair later, recheck the screen.
Step 2: Center the primary display
The most-used monitor belongs directly ahead. Center it on the body and keyboard—not automatically on the middle of the desk.
Desk drawers, a computer tower or an L-shaped surface can quietly force the chair to one side. Establish the body’s working center first, then place the monitor around it.
If printed material is the primary task and the screen is secondary, a document holder may sit in front while the display moves slightly to the side. Keep the two at similar distances to reduce repeated refocusing and large neck movements.
Step 3: Find the starting height
Raise or lower the display until the top of the visible screen sits at or a little below horizontal eye level. The bezel does not matter; use the active display area.
Then scan from the browser tabs or menu bar to the bottom of the screen. You should be able to see the working region with comfortable eye movement and only modest head movement.
Signs the monitor is too high
- You tip the chin upward.
- The neck or upper back feels tired after reading near the top.
- Progressive or bifocal lenses make you tilt the head back.
- The shoulders lift as you try to sit taller.
Signs the monitor is too low
- The head drifts forward and down for most tasks.
- You collapse away from the backrest.
- The laptop camera points sharply upward.
- You keep trying to raise the chair after keyboard height is already correct.
A low screen is not automatically harmful for everyone, particularly when vision correction requires it. The test is whether you can see comfortably without sustaining an awkward head or trunk position.
Step 4: Set viewing distance before buying a stand
Place the monitor about an arm’s length away, then open the text and applications used most. Sit back. If text is hard to read, increase operating-system scaling, browser zoom or application font size before pulling the display very close.
Move the screen closer when larger text would remove too much useful workspace. Move it farther away when a large screen requires excessive eye or head travel.
Screen resolution affects scaling. A high-resolution monitor often needs larger interface settings even when the physical screen is large.
Step 5: Adjust tilt and glare
Tilt the display so its surface faces your line of sight. A slight backward tilt is common, but the room’s lighting determines whether that creates a ceiling reflection.
Place the monitor roughly perpendicular to a bright window when possible. A screen facing a window can create a large brightness contrast behind it; a screen with the window directly behind the user can show reflections.
Control the window with a blind or curtain rather than raising, lowering or twisting yourself around glare.
Monitor height by screen size
24-inch monitor
A 24-inch display usually fits the standard formula well. Begin at arm’s length with the top near eye level. It may need a riser if the supplied stand has no height adjustment.
27-inch monitor
A 27-inch screen may work slightly farther away. Keep the upper active area at or below eye level and use scaling appropriate to the resolution. Avoid placing it on a computer tower or tall stack without measuring.
32-inch monitor
A 32-inch display often works better farther away and somewhat lower than expected. Center the work window rather than repeatedly using content at the extreme corners. Desk depth matters more than stand height.
Ultrawide monitor
Place the center directly ahead and curve or angle the side regions toward you. Use window-management zones so the primary task stays near the center. If the monitor is very wide, increase distance enough to reduce large head turns.
Correct height for dual monitors
One primary, one secondary
Center the primary monitor in front of you. Place the secondary immediately beside it, angled inward. Match vertical height so common windows move between screens without a visual jump.
Do not center the gap between displays when you spend most of the day looking at one screen. That forces a continuous neck rotation.
Two equally used monitors
Place the screens close together with the join directly ahead. Angle both slightly inward. Keep the most-used working regions near the central edges.
A laptop beside a monitor
Make the external monitor primary and center it. Raise the laptop so its screen is near the same visual height, then use an external keyboard and mouse. The laptop can hold messages, reference or call controls.
Monitor height with progressive or bifocal lenses
Multifocal lenses often require looking through a lower portion for near or intermediate distances. A monitor at standard eye height can cause the wearer to tip the head back.
Lower the screen until text is visible with a balanced head position. Tilt it upward if useful. Discuss persistent difficulty with an eye-care professional; occupational or computer-specific lens options may be appropriate for some people.
Do not force the monitor to a generic diagram when your vision requires a different position.
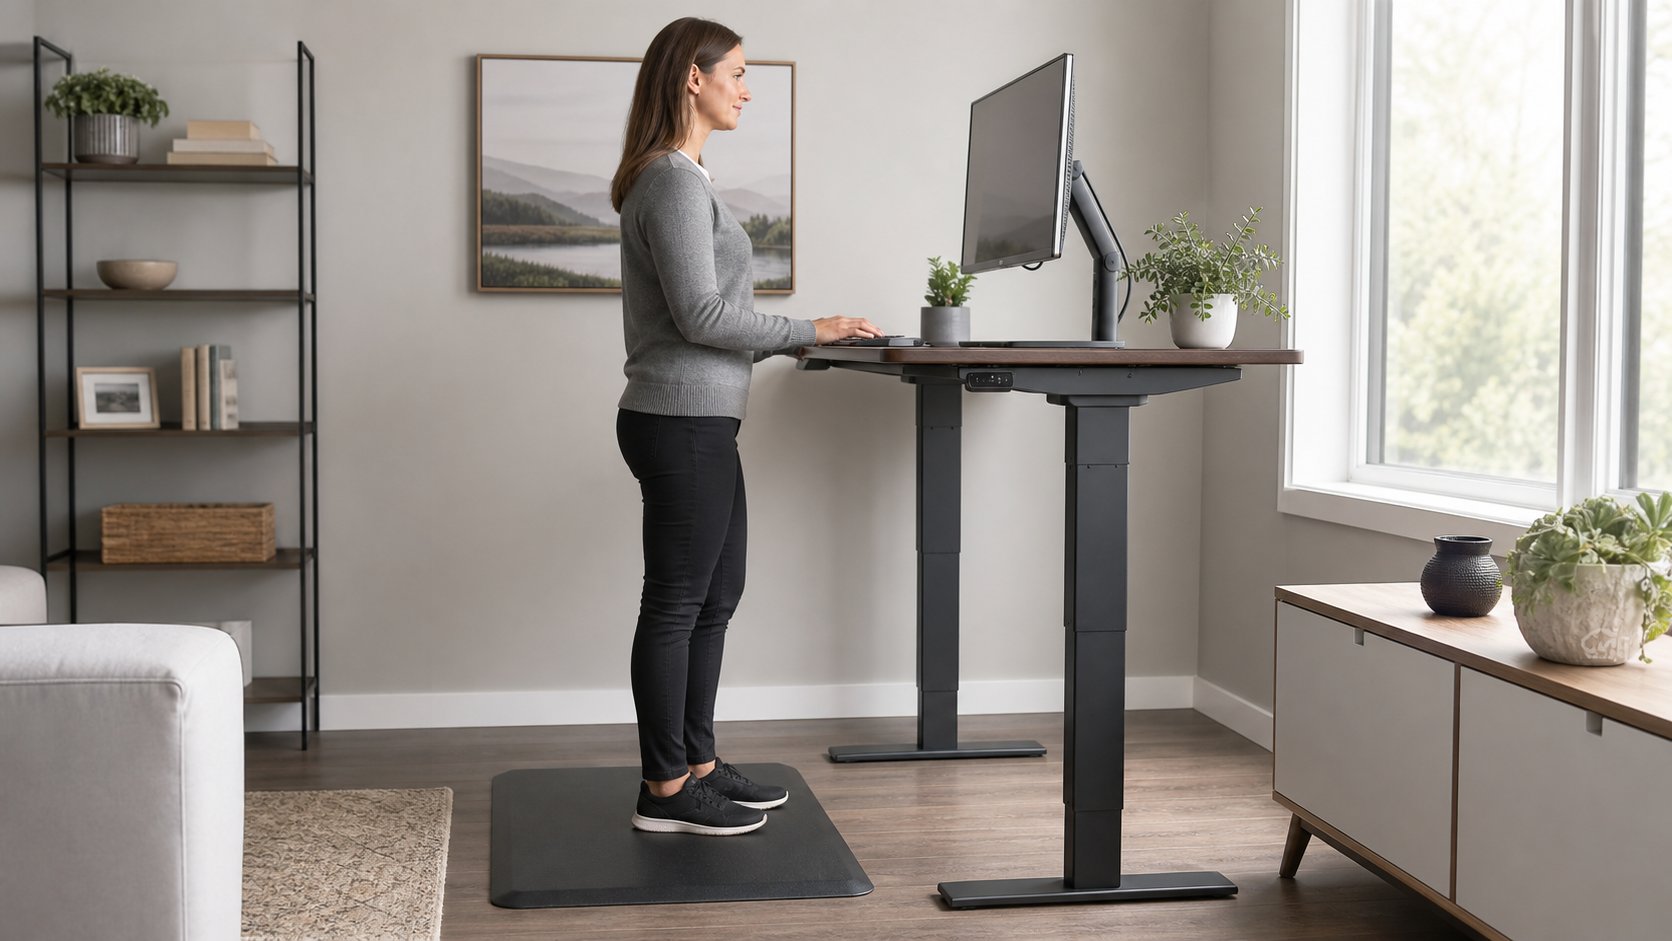
Standing-desk monitor height
Set standing height independently. Raise the desk until the keyboard is near relaxed elbow height, then adjust the monitor so you can read it without looking down continuously.
If the monitor and keyboard move together on the desktop, the relative height stays similar. Save separate seated and standing desk presets. A monitor arm with enough vertical range makes the transition easier.
Run the desk through its full travel to verify that cables and the arm do not hit a wall, shelf or window sill.
Laptop screen height
A laptop screen and keyboard cannot both occupy ideal independent positions. For sustained use:
- Raise the laptop on a stable stand.
- Connect an external keyboard and mouse.
- Keep the screen centered or use an external monitor as primary.
- Ensure ventilation openings remain clear.
For short mobile sessions without accessories, enlarge text, choose a supported seat and change position more often.
DIY riser or monitor arm?
A sturdy riser is enough when the screen needs a small height increase and the viewing distance is already correct. Use a wide, stable base that supports the monitor footprint.
Choose a monitor arm when you need to change distance, share the desk, switch between seated and standing positions or reclaim surface depth. Verify:
- Monitor weight and VESA mounting pattern
- Arm minimum and maximum weight
- Desktop material and thickness
- Clamp or grommet clearance
- Space behind the desk
A monitor arm cannot correct a desk that is too shallow for the screen size.
The two-minute test
After adjustment, read a document for two minutes while sitting normally. Then ask:
- Did I leave the backrest?
- Did my chin rise or fall?
- Did I squint or move closer?
- Did I turn toward one side?
- Is glare making me change posture?
Correct the reason, not only the movement. Increase scaling for unreadable text, control glare at the window and center the screen used most.
Final answer
Set the top of the active display at or just below seated eye level, place the screen directly in front and begin roughly an arm’s length away. Then adjust text size, distance, tilt and height together until you can work with a balanced head and supported back.
The exact height is not a number printed on a monitor stand. It is the position that keeps the content visible without asking your neck to hold an avoidable angle all day.