The Ultimate Home Office Desk Setup Guide for Remote Workers
Plan a comfortable, focused home office with clear dimensions, budget priorities and a step-by-step setup sequence.
What to know first
- Start with the work you do, not the look you want.
- Protect clearances before choosing furniture.
- Spend first on items you touch for hours each day.
A good home office desk setup does not begin with a product list. It begins with three facts: the work you do, the room you have and the discomfort or friction you want to remove. Get those right and even a modest setup can feel deliberate. Skip them and an expensive room can still work against you.
This guide gives you a complete sequence. You will measure the room, place the desk, establish your working posture, position the screen, plan light and sound, route cables and decide where your budget will have the greatest daily impact.
Start with a ten-minute workspace brief
Before opening a shopping tab, write one sentence for each of these questions:
- What are the three tasks I do most? Writing, coding, client calls and illustration create different equipment needs.
- What interrupts me now? Name a physical problem, not a vague wish: glare at 3 p.m., a laptop screen that sits too low, nowhere to put paper or a chair that becomes uncomfortable after an hour.
- What cannot change? Record your available wall width, maximum depth, outlets, doors, heating vents and landlord restrictions.
- What is the total budget? Include delivery, cable adapters, monitor arms and tax. Small accessories often consume the last 10 to 15 percent.
That brief becomes a filter. A large sit-stand desk may be attractive, but it is not a good choice if it blocks a wardrobe or leaves too little room to move the chair.
Measure the room before choosing a desk
Measure the room at desk height, not only along the floor. Radiators, window sills and sloped ceilings can reduce usable space.
Record these dimensions:
- Available wall width and depth
- Distance to the nearest power outlet
- Window position and the direction of daylight
- Door and drawer swing
- Clear floor depth behind the chair
- Height of any shelf above the work surface
For a comfortable chair path, aim to preserve roughly 90 cm or 36 inches behind the front edge of the desk where the room allows. In a tighter room, use tape on the floor to test the chair position before ordering furniture.
Choose the smallest desk that supports the work
A desk should hold the tools used during the current task without becoming permanent storage.
| Work pattern | Useful starting width | Useful starting depth |
|---|---|---|
| Laptop, notebook, occasional calls | 100–120 cm | 55–65 cm |
| Laptop plus one monitor | 120–140 cm | 65–75 cm |
| Two monitors or creative equipment | 140–180 cm | 70–80 cm |
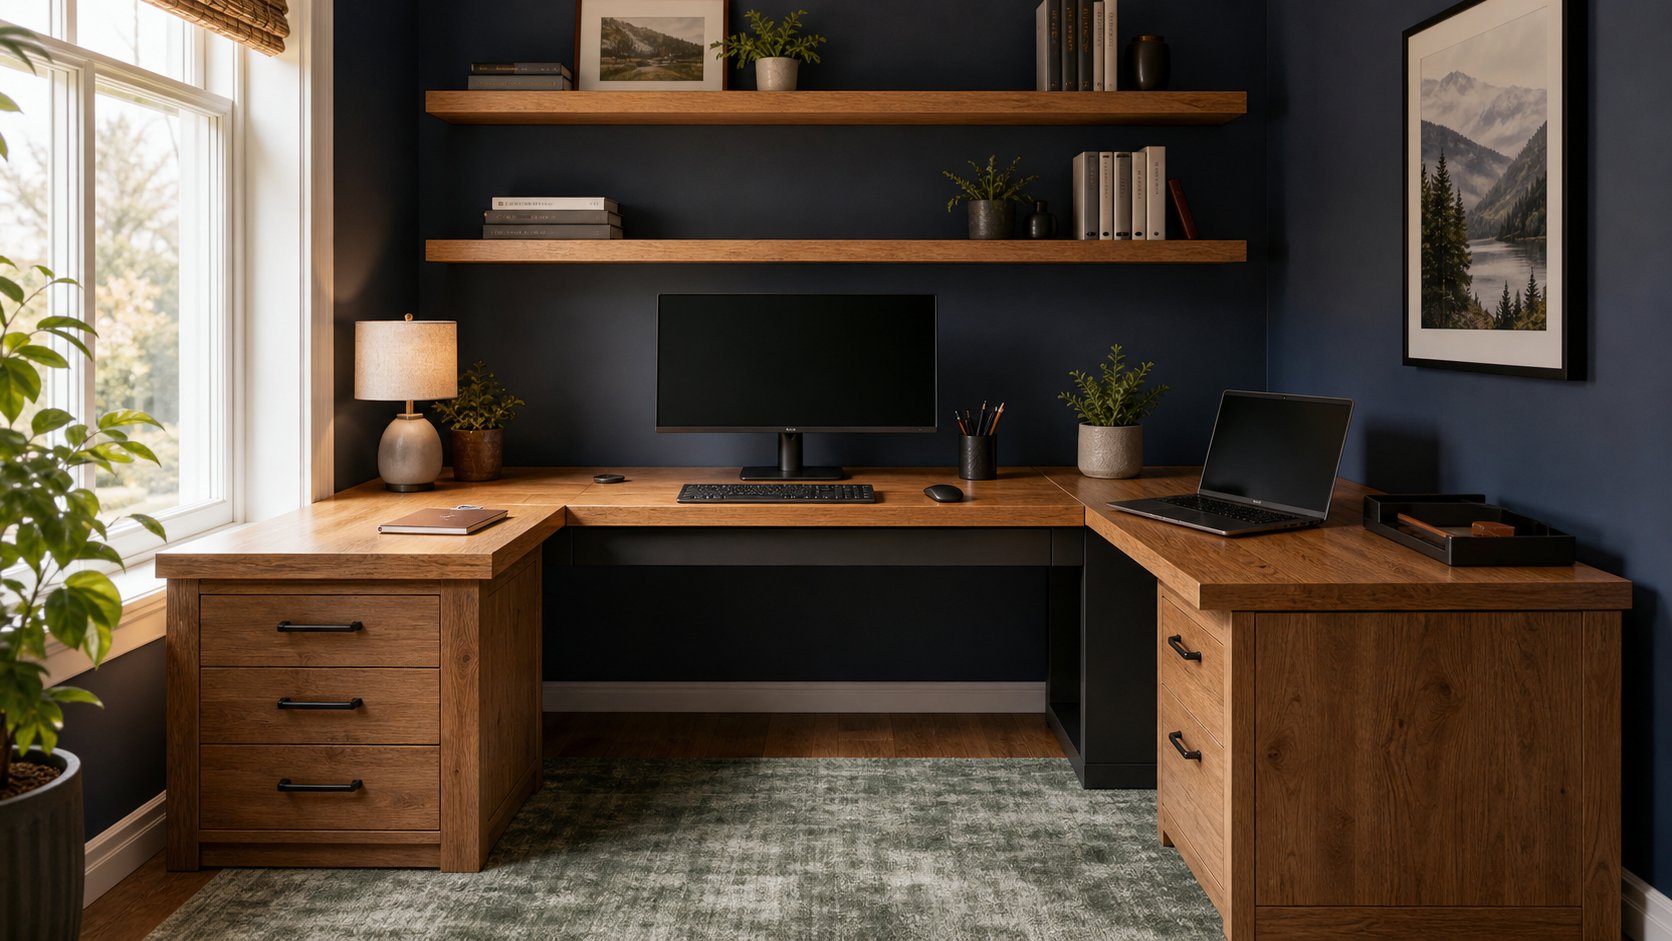
| Corner workflow with reference material | 160 cm each side | 60–75 cm |
These are starting ranges, not rules. A monitor arm can make a shallower desk workable. A large monitor on its supplied stand may require more depth than expected.
Put the desk in the right part of the room
Position the main screen roughly perpendicular to a bright window. Facing a window can create a large brightness difference between the screen and the background. Placing the window directly behind you can put reflections on the display.
If the room forces a difficult orientation, use an adjustable blind or light-filtering curtain. Move the desk a small distance from the wall if that creates space for a monitor arm clamp and cable tray.
Avoid placing the desk where a door opens directly into the chair path. If you take frequent video calls, check what the camera sees before committing to the location. A calm real background usually looks better than a virtual one and consumes no processor resources.
Establish fit before adding accessories
Set the chair and desk as a pair. The goal is not a single perfect posture; it is a supported starting position you can leave and return to easily.
- Adjust the seat so your feet are supported by the floor or a stable footrest.
- Bring the desk or keyboard surface close to elbow height.
- Keep the mouse next to the keyboard instead of reaching toward it.
- Support the forearms lightly without lifting the shoulders.
- Leave a small space between the seat edge and the back of the knees.
If a fixed desk is too high, raise the chair and add a footrest. If it is too low, furniture risers may help, but test stability carefully. A thin keyboard can also reduce the height of the working surface at your hands.
The best ergonomic feature is adjustment you will actually use. Set each control once, then label or photograph the position so it is easy to recover.
Position the screen for the work you do
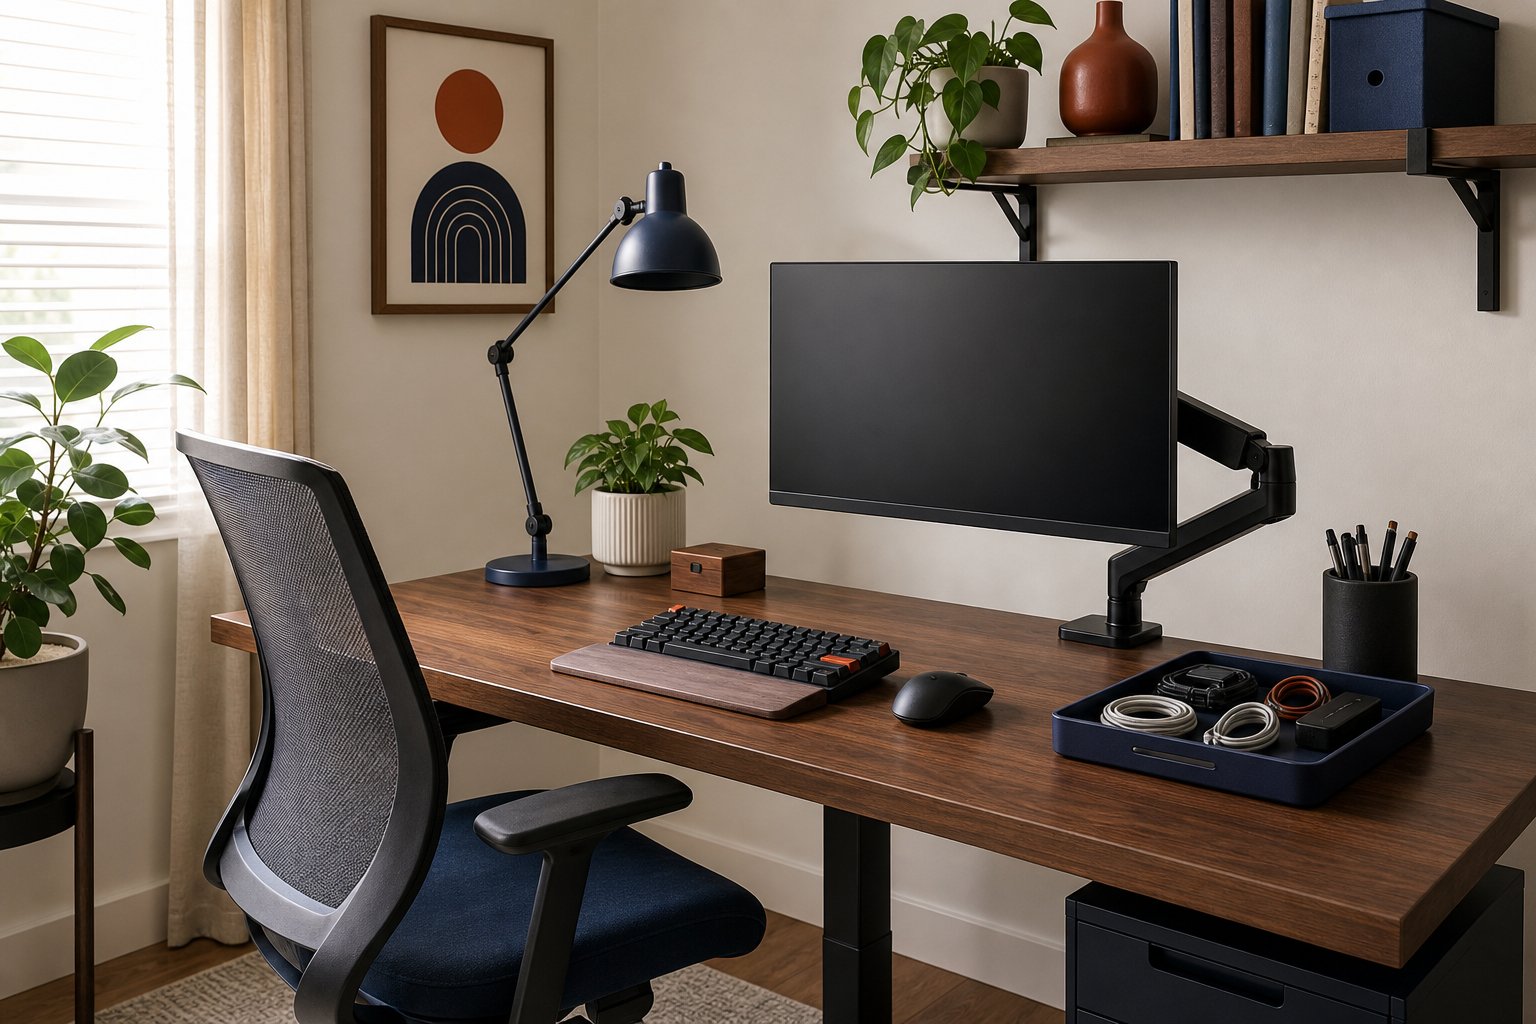
For a typical desktop monitor, begin with the top area of the active screen at or slightly below eye level. Place the display about an arm’s length away, then adjust for text size, vision and screen dimensions.
A very large screen may need to sit farther away and slightly lower. Laptop-only work benefits from a riser plus an external keyboard and mouse. If calls dominate the day, keep the camera near the screen where participant windows appear so eye line feels natural.
One monitor or two?
Choose one larger monitor when your work benefits from uninterrupted focus, you have limited depth or your computer has restricted display support. Choose two when you repeatedly compare documents, monitor a communication channel or use a dedicated preview window.
With two equal screens, place the join directly in front of you only if you use them equally. Otherwise center the primary display and angle the secondary display toward you. Avoid a wide gap between screens.
Build lighting in three layers
A comfortable office rarely relies on one ceiling fixture.
- Daylight: Control it with blinds or curtains rather than eliminating it.
- Ambient light: Use a broad source that keeps the room from becoming much darker than the display.
- Task light: Aim an adjustable lamp at paper or the keyboard without reflecting it in the screen.
Use warm light for a relaxed room and neutral light for color-sensitive work. Consistency matters more than chasing an exact color temperature. If a video call is important, place a soft light in front of you and slightly above eye level. Do not use an uncovered lamp directly behind the camera.
Treat sound as part of the setup
Hard, empty rooms create echo. Before buying a microphone, add soft materials you already want in the space: curtains, a rug, an upholstered chair, filled bookshelves or acoustic panels with verified fire ratings.
For calls, move the microphone closer rather than increasing software gain. A modest headset microphone near your mouth often sounds clearer than an expensive desktop microphone placed across the desk.
If household noise is unpredictable, define a call zone and a focus zone. They can be two orientations of the same desk. Turning toward a soft wall or curtain for calls may improve sound without adding equipment.
Plan power and cable management safely
Begin at the wall outlet and work toward the device. Use a surge protector appropriate for your local electrical standard and equipment. High-draw heaters should not share an office power strip.
Group cables by destination:
- Power cables travel toward the outlet.
- Display and data cables travel between the computer, dock and monitors.
- Short charging cables terminate at an accessible edge of the desk.
Mounting one surge protector under the desk can reduce the number of cables that move when a sit-stand desk changes height. Leave a service loop so cables are not pulled taut. Separate power bricks enough to avoid heat buildup, and never staple through a cable.
Use reusable hook-and-loop ties before permanent clips. Live with the arrangement for a week; then secure the routes that are working.
Spend in the order of daily impact
A balanced budget puts money into the surfaces and tools you use continuously.
| Category | Suggested share | Why it matters |
|---|---|---|
| Chair or seated support | 25–35% | Supports hours of daily contact |
| Desk or work surface | 20–30% | Determines fit, stability and usable area |
| Display and mounting | 20–30% | Affects neck position and information layout |
| Lighting, input and audio | 10–20% | Solves task-specific friction |
| Storage and cable management | 5–10% | Finishes the system after testing |
This allocation changes when you already own a good item. Do not replace a functional desk simply to make every finish match. Spend the saved money on a chair fitting, a better display or nothing at all.
Set up the room in the right sequence
Day one: make it functional
Place the desk, chair, screen, keyboard and essential power. Complete an ordinary workday. Write down every repeated reach, glare problem, sound issue and missing cable.
Day two: correct the fit
Adjust seat height, screen distance and input position. Test your most common work tasks, not a staged sitting pose. Add a footrest or laptop riser only when the fit indicates a need.
Day three: remove friction
Route cables, assign a home to charging devices and move rarely used objects away from the primary work zone. Add a task light if paper work creates shadows.
End of week two: evaluate
Ask four questions:
- Can I begin work without rearranging the desk?
- Can I change position easily?
- Are the screen and room comfortable at different times of day?
- Which item is still creating the greatest repeated inconvenience?
Make only one major change after this review. Multiple simultaneous upgrades make it difficult to know what actually helped.
Common home office setup mistakes
Buying for a photograph. A beautiful shallow desk may not fit a monitor at a comfortable distance.
Centering storage instead of the body. Drawers can force the chair to one side. Establish your centered working position first.
Adding organization too soon. Storage should follow the items you use. Empty organizers create clutter of their own.
Treating standing as a cure. A standing desk provides another position; it does not make long, motionless standing healthy or comfortable.
Ignoring the return process. Check assembly, packaging and return costs before ordering large furniture.
Your finished setup checklist
A dependable home office should pass this short test:
- The desk fits the room with a clear chair path.
- The screen is readable without leaning forward.
- The keyboard and mouse do not force a long reach.
- Daylight can be controlled throughout the workday.
- Essential call equipment works without reconnection.
- Cables move safely with any adjustable furniture.
- Frequently used objects are reachable; everything else has a home.
- There is a simple cue that marks the end of work.
A strong setup is not finished when it looks complete. It is finished when an ordinary Monday feels easier. Start with the largest repeated problem, test the smallest sensible correction and let the workspace earn each new addition.