Standing Desk Height Calculator: Find Your Starting Point
Estimate standing desk and monitor height from your body height, then refine the setup using relaxed elbows, neutral wrists and comfortable viewing.
What to know first
- Neutral, supported positions matter more than perfect posture.
- Movement throughout the day is part of the setup.
- Persistent pain deserves advice from a qualified clinician.
Calculate your standing desk height
Enter your height without shoes. The result is a broad starting range; refine it from your actual elbow and eye position.
Estimate only. Set the keys near relaxed elbow height and adjust the screen separately. Shoe height, body proportions, keyboard thickness and eyewear change the final position.
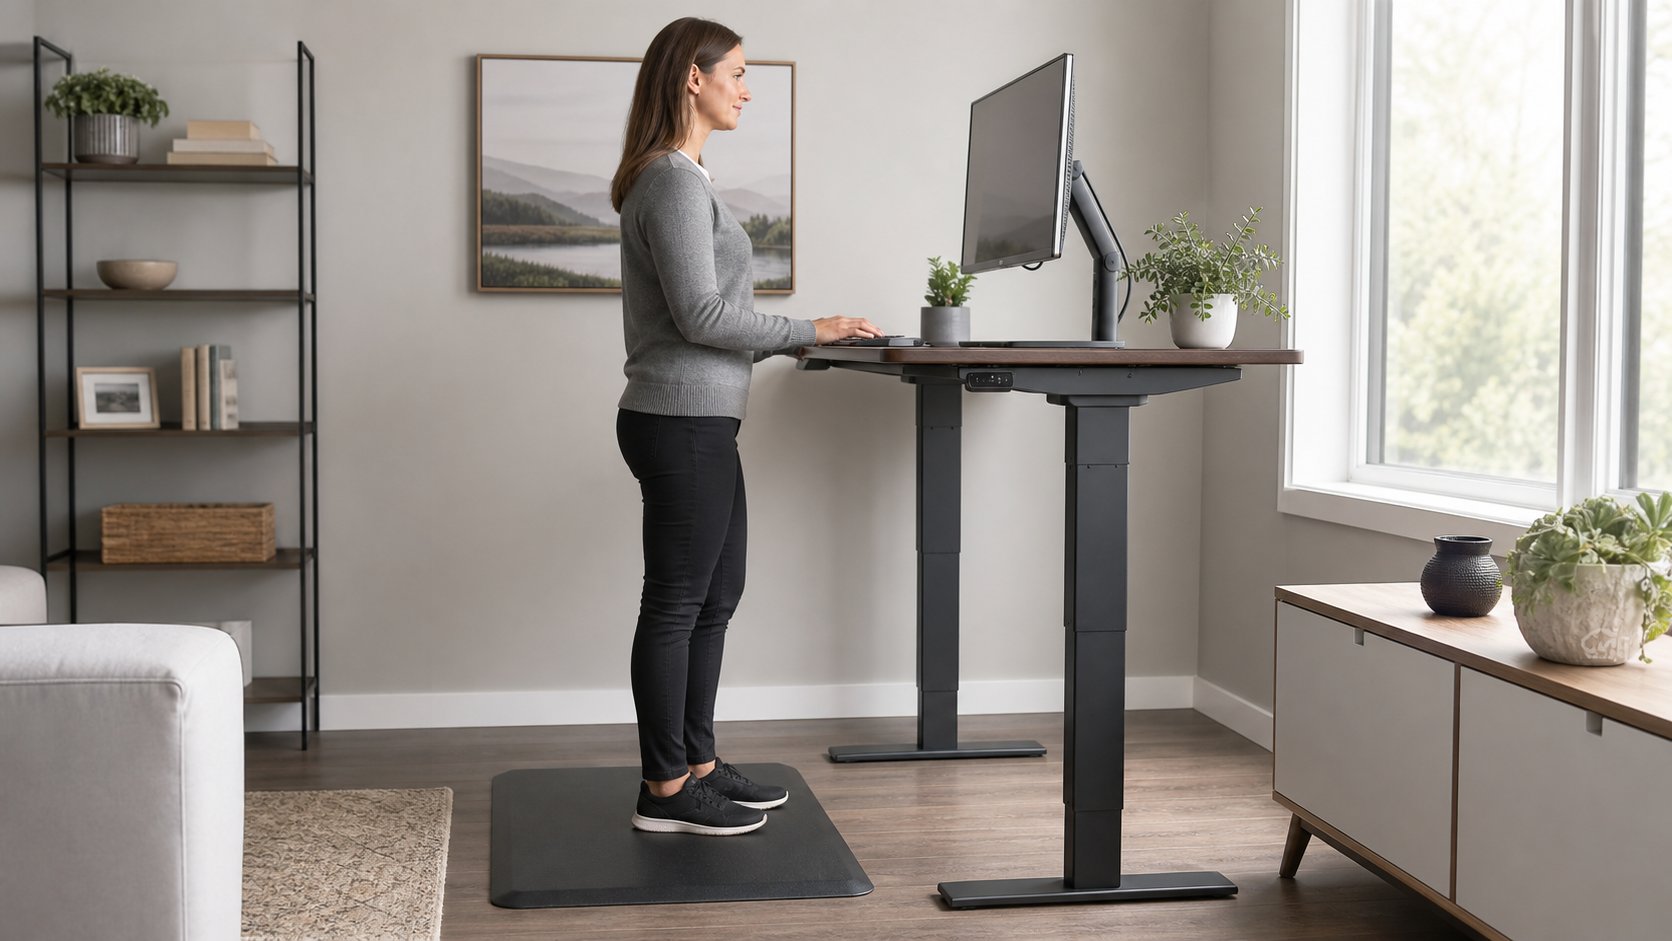
A standing desk height calculator can provide a starting range, but your actual standing elbow height is more useful than body height alone. Set the keyboard surface near relaxed elbow level, keep the mouse beside it and position the screen independently so you can view it without sustained head tilt.
Use the calculator below, then complete the physical fit test. Shoe height, limb proportions, keyboard thickness, monitor size and eyewear all change the final setting.
How the estimate works
The tool uses broad anthropometric proportions to estimate:
- A keyboard-surface range around 60–63 percent of standing body height
- A monitor-top range around 88–94 percent of standing body height
These are intentionally ranges, not prescriptions. They do not account for individual proportions or a keyboard tray.
The best final measurement is the position where shoulders stay relaxed, elbows remain near the torso and wrists do not bend sharply while typing.
Standing desk setup in five steps
1. Stand naturally
Wear the footwear normally used while working. Distribute weight comfortably and keep knees relaxed rather than locked.
Do not stand at military attention. A realistic work stance includes small weight shifts.
2. Relax the shoulders
Let the upper arms hang near the torso. Bend the elbows until forearms approach horizontal.
Measure from the floor to the underside of the elbow or to the intended keyboard surface. This is a more personal starting point than a height chart.
3. Set the keyboard surface
Raise or lower the desk until the keyboard is near elbow height. Account for keyboard thickness.
If the shoulders rise, the surface is probably too high. If you reach down or bend at the waist, it may be too low.
Keep the keyboard and mouse close together near the front edge.
4. Position the monitor separately
Start with the top of the visible screen around eye level or slightly below. Place it directly ahead and far enough away to read without leaning—often roughly an arm’s length.
Large monitors may need to sit farther away. Progressive or bifocal users often need a lower screen to avoid tipping the head back.
5. Work briefly and refine
Use the position for five to fifteen minutes. Adjust one variable at a time.
Stop or sit when legs, feet, back, neck or concentration become uncomfortable. Standing duration should build gradually if appropriate.
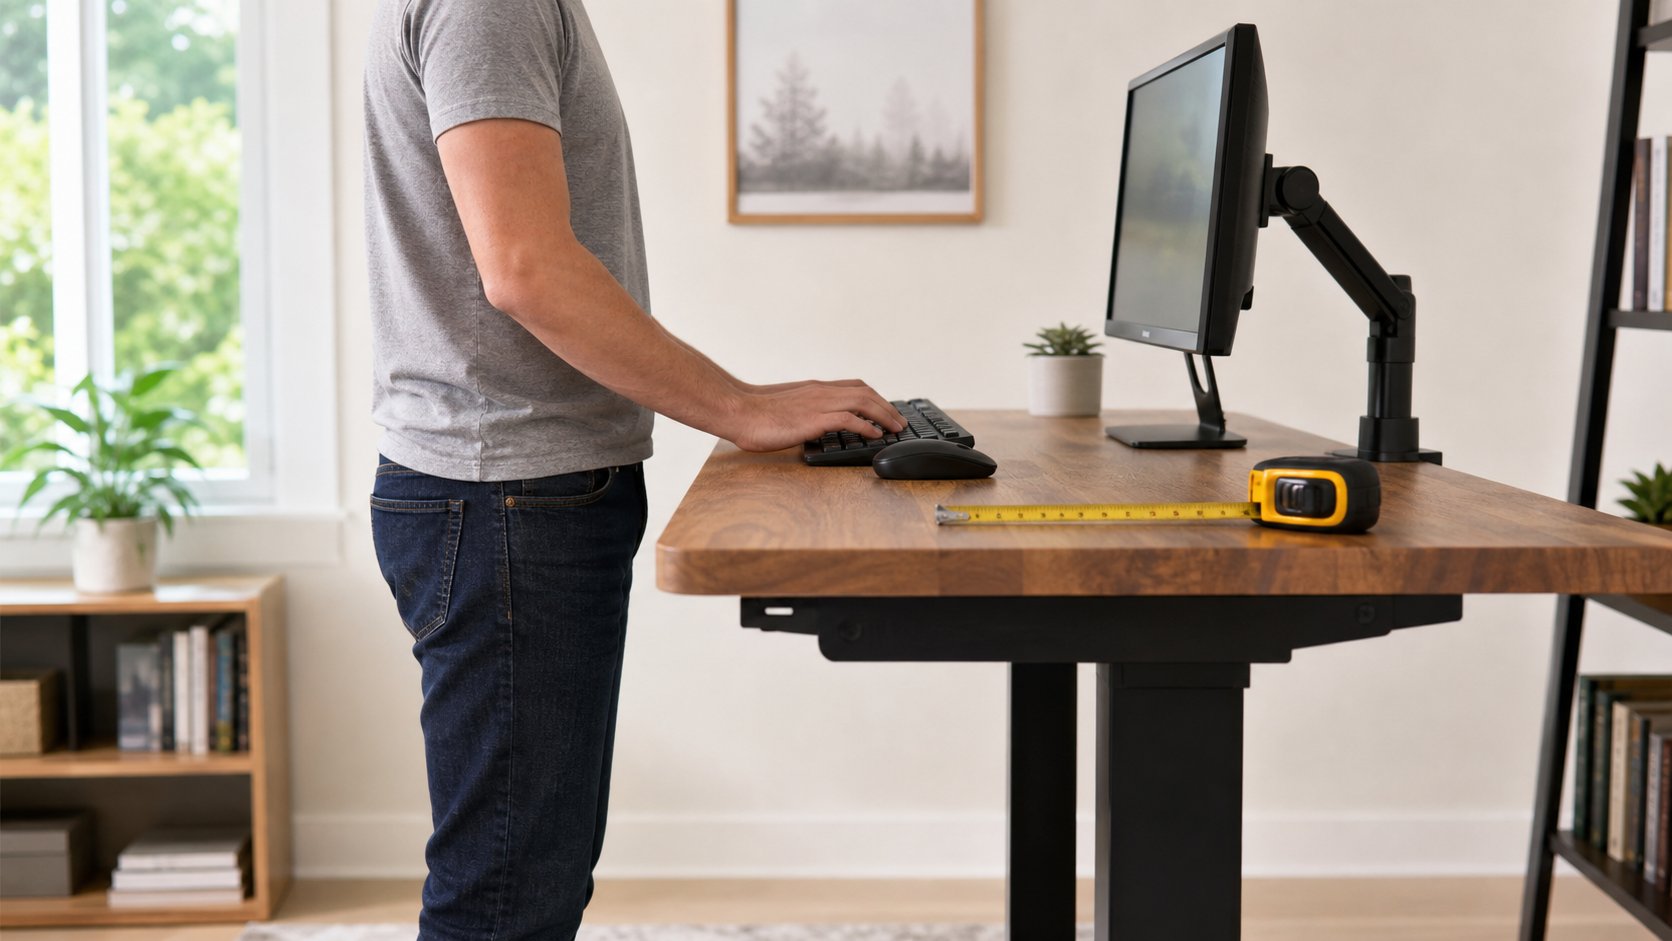
Measure your actual standing elbow height
You need a wall, tape measure and optional helper.
- Stand in normal work footwear.
- Relax shoulders.
- Bend one elbow to a comfortable typing position.
- Keep the wrist straight.
- Measure vertically from floor to the underside of the elbow.
- Repeat twice.
- Use the average as the keyboard-surface starting point.
If using a thick mechanical keyboard, the desk surface may sit slightly below measured elbow height because the keys rise above it.
A keyboard tray changes the relevant surface. Measure the keycaps, not the desktop.
Common standing desk starting ranges
These estimates illustrate why exact fit must be measured.
| Body height | Keyboard surface estimate | Monitor-top estimate |
|---|---|---|
| 5 ft 0 in / 152 cm | 91–96 cm / 36–38 in | 134–143 cm / 53–56 in |
| 5 ft 4 in / 163 cm | 98–103 cm / 39–41 in | 143–153 cm / 56–60 in |
| 5 ft 8 in / 173 cm | 104–109 cm / 41–43 in | 152–163 cm / 60–64 in |
| 6 ft 0 in / 183 cm | 110–115 cm / 43–45 in | 161–172 cm / 63–68 in |
| 6 ft 4 in / 193 cm | 116–122 cm / 46–48 in | 170–181 cm / 67–71 in |
A person with relatively long forearms or a different shoulder position may fall outside the table.
Desk height and keyboard thickness
The body interacts with the keys, not the desktop.
If a keyboard is 3 cm thick and the ideal key height is 104 cm, the desktop may need to be around 101 cm. A low-profile keyboard requires less subtraction.
Palm rests do not define typing height. They support the heel of the hand during pauses and should not create pressure while keys are being used.
Set mouse height
Keep the mouse at the same height as the keyboard and immediately beside it. A full-size keyboard can push the mouse far right.
Options include:
- Compact keyboard
- Separate number pad used only when needed
- Centered pointing device
- Wider keyboard tray with adequate support
Do not raise the mouse on a thick pad while leaving the keyboard low.
Monitor top vs monitor center
“Monitor at eye level” is often misunderstood.
For a typical desktop monitor, the top of the usable screen near eye level puts most content below the horizontal line of sight. The center is lower.
A very large screen may need its top lower. A laptop on a stand may need external input devices to reach a useful display height.
OSHA’s monitor guidance recommends considering height, viewing angle, distance and clarity together rather than treating one measurement as universal.
Progressive and bifocal lenses
People using multifocal lenses may raise the chin to view through a lower lens area. Lower the monitor until text can be viewed with the head balanced.
A dedicated computer prescription may help when intermediate distance is not served by current glasses. An eye-care professional can advise based on actual screen distance.
Dual-monitor standing setup
One primary display
Center it. Angle the secondary inward and reserve it for reference.
Two equal displays
Place the inner edges near the body’s center and turn both inward. Avoid working for long periods on the far outer edge.
Laptop and monitor
Center the external monitor. Put the elevated laptop to one side and use an external keyboard and mouse.
Read the multiple-monitor setup guide before adding three or four screens.
Check desk range before buying
A sit-stand desk must reach both your seated and standing keyboard heights.
Measure:
- Seated key height
- Standing key height
- Desktop thickness
- Keyboard thickness
- Footwear difference
- Monitor-arm vertical range
Do not assume a tall maximum means good fit. The lowest height often determines whether shorter users can type comfortably while seated.
Add safe cable travel
At standing height:
- Power and display cables must remain slack enough.
- Monitor-arm cables should not pull from ports.
- The wall cable should follow a controlled route.
- Nothing should enter lifting columns.
- Drawers and shelves must clear the desktop.
Test full travel slowly while watching every cable.
Standing posture is allowed to change
Do not freeze in one “correct” shape.
Useful variation includes:
- Shifting weight gently
- Using a stable foot rail briefly
- Alternating sitting and standing
- Walking during an appropriate call
- Taking screen breaks
- Changing tasks
Avoid leaning heavily on one wrist or locking the knees.
NIOSH’s review of prolonged standing found consistent reports of fatigue and discomfort and identified dynamic movement as an important response. See the NIOSH standing guidance.
Troubleshooting
Shoulders rise while typing
Lower the desk or keyboard tray. Check that armrests are not forcing the shoulders upward.
Wrists bend upward
Lower the key surface, flatten keyboard feet or use a thinner keyboard.
Neck bends down
Raise the monitor independently. Do not raise the entire desk if keyboard height is correct.
Chin lifts
Lower the monitor, especially with multifocal lenses.
Feet or low back become tired
Sit, move or shorten standing periods. An anti-fatigue mat may improve floor comfort but does not justify prolonged standing.
Desk is at maximum height
Do not add an unstable platform. Consider a safe monitor riser only for the display and a desk with adequate keyboard range for the next upgrade.
When a calculator is not enough
Persistent pain, numbness, weakness, tingling, swelling or balance problems deserve qualified assessment. A standing desk setting cannot diagnose or treat a health condition.
People with circulation, joint, neurological or pregnancy-related concerns may need individualized guidance about standing duration.
Final recommendation
Use the calculator for a starting range, then measure actual standing elbow height. Set the keycaps near that level, keep mouse and keyboard close and position the monitor separately.
The right standing desk height is not the number produced by a formula. It is the adjustable position that supports relaxed shoulders, clear viewing and easy movement back to sitting before fatigue builds.