12 DIY Desk Ideas for a Practical Home Office
Build a practical DIY desk with twelve adaptable ideas, plus guidance on depth, support spacing, edge finishing, cable routes and when structural help is necessary.
What to know first
- Start with the work you do, not the look you want.
- Protect clearances before choosing furniture.
- Spend first on items you touch for hours each day.
The best DIY desk begins with a measured work surface and a proven support plan—not a dramatic social-media build. A pre-cut plywood top on commercial trestles is the easiest adaptable option. A butcher-block top on rated legs creates a more permanent desk, while a narrow wall-to-wall top can use a ledger and front legs when the wall structure and fasteners are correctly identified.
Material prices vary too much to promise that every project costs less than $100. Set a complete budget for the top, supports, finish, fasteners, cable hardware, tools and delivery. If you are unsure about structural loads, electrical work or wall construction, use a qualified professional.
Before choosing an idea
OSHA’s desk guidance recommends enough depth to place the monitor at least 20 inches away and enough under-desk clearance for varied seated positions. Measure your monitor stand, keyboard, arm reach and chair before buying lumber.
A good project should answer:
- How is the top supported against sagging?
- What is the maximum intended load?
- Where do the legs and braces sit relative to knees?
- How are sharp edges finished?
- Can cables move without rubbing?
- Can the desk be disassembled or repaired?
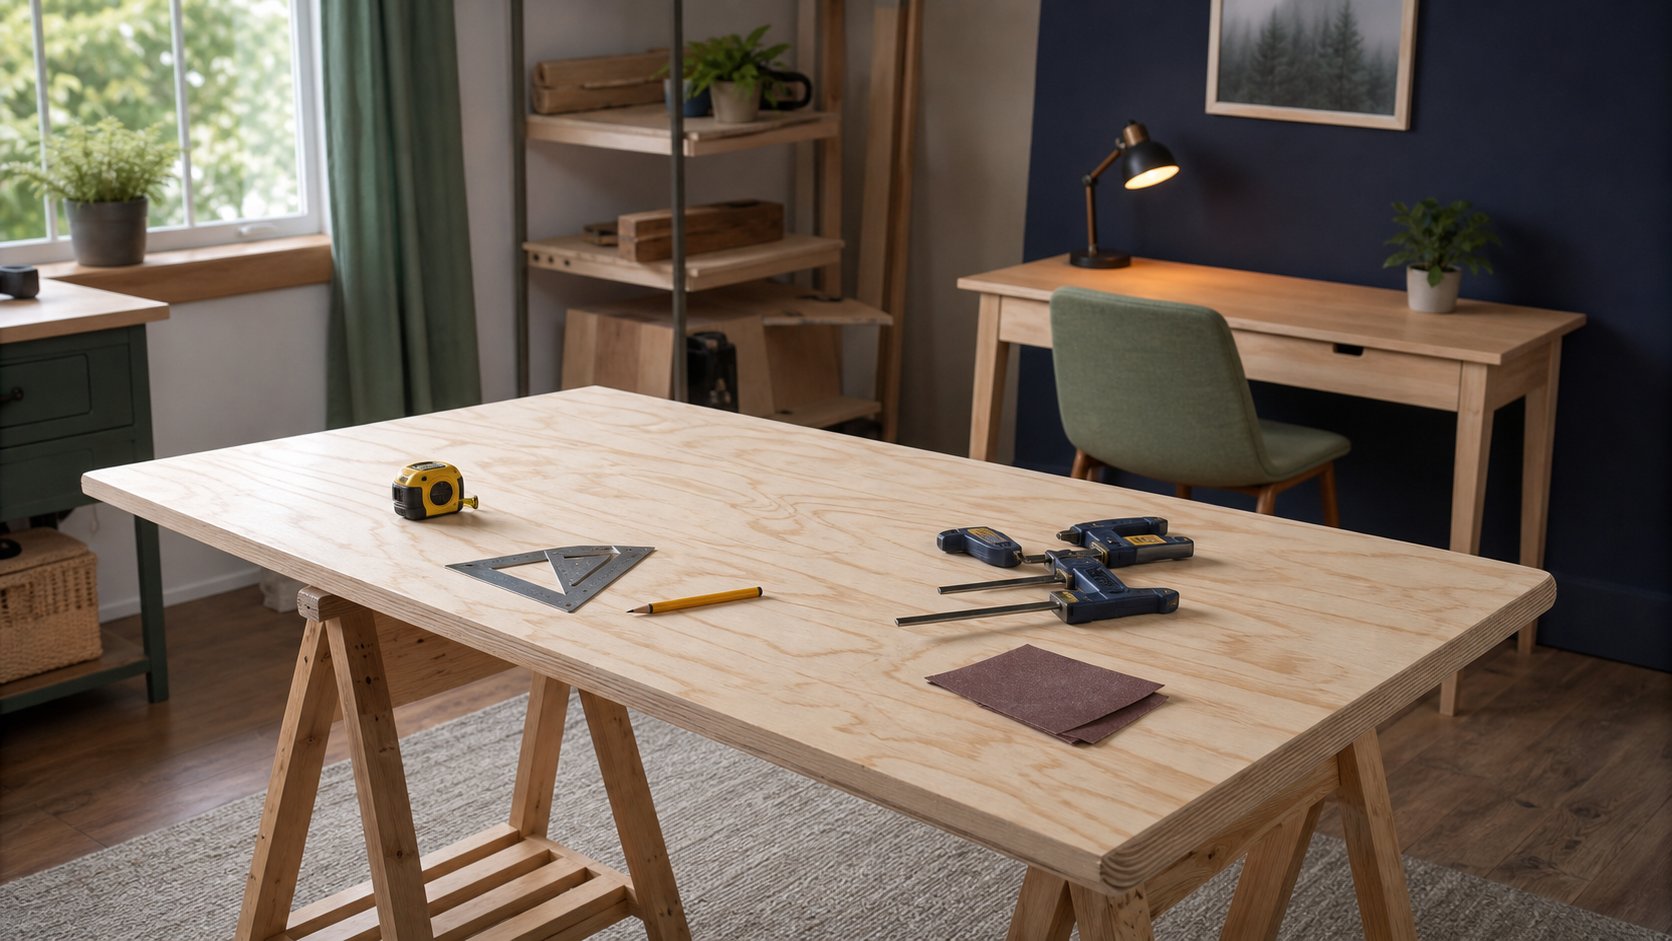
1. Pre-cut plywood on adjustable trestles
Use a cabinet-grade plywood panel with sealed edges on two rated commercial trestles.
Best for: a first build, renters and changing rooms.
Why it works: the base positions can change and the top is replaceable.
Watch for: unsupported span, lateral movement and exposed plywood edges. Add an appropriate stiffener or move supports inward according to a verified design.
2. Butcher block on steel legs
Pair a solid or finger-jointed wood worktop with legs whose mounting plates and capacities suit the top.
Best for: a durable straight desk with a warm finish.
Why it works: the thick top accepts many finishing options and can be refinished.
Watch for: considerable weight and natural wood movement. Follow the top maker’s instructions for sealing all faces and allowing movement around fasteners.
3. Plywood top with a front apron
A vertical timber or plywood apron under the rear or front edge can stiffen a top and create a place for cable hardware.
Best for: a wider desk that needs more bending resistance.
Why it works: material depth is used vertically where it resists sag.
Watch for: knee clearance and joinery. An apron is effective only when dimensions, grain direction and connections are appropriate.
4. Wall-to-wall alcove desk
Install a top between two walls with side supports and, where needed, front legs or a structural frame.
Best for: a narrow dedicated office nook.
Why it works: uses otherwise awkward space and can create a deep work surface.
Watch for: walls that are not square, hidden services and inadequate anchors. A decorative drywall anchor is not a structural desk support.
5. Fold-down wall desk
A hinged top folds away when not in use and is held level by rated folding brackets or supports.
Best for: short laptop sessions in a multipurpose room.
Why it works: restores floor space after work.
Watch for: pinch points, accidental release and limited load. Remove equipment before folding unless the hardware explicitly supports the complete use case.
6. Two-drawer-unit desk
Use two matched storage units as supports with a top and any required center leg or rail.
Best for: work that needs accessible shallow storage.
Why it works: combines base support and drawers.
Watch for: excessive fixed height, narrow leg space and a long unsupported center span. The popular IKEA ALEX approach must follow the selected top’s support and load requirements.
7. Compact rolling desk
Build a small top on a commercial mobile table base with locking casters.
Best for: occasional work that moves between rooms.
Why it works: a purpose-designed base handles rolling and braking better than casters improvised under furniture.
Watch for: tipping, thresholds and cable entanglement. Do not add casters to a desk unless the base and fasteners were designed for dynamic loads.
8. Shallow console workstation
A narrow top can support a laptop or wall-mounted display where room depth is limited.
Best for: brief administrative work.
Why it works: low floor-space demand.
Watch for: inadequate viewing distance and no room for separate input devices. It is not the default for eight-hour computer work.
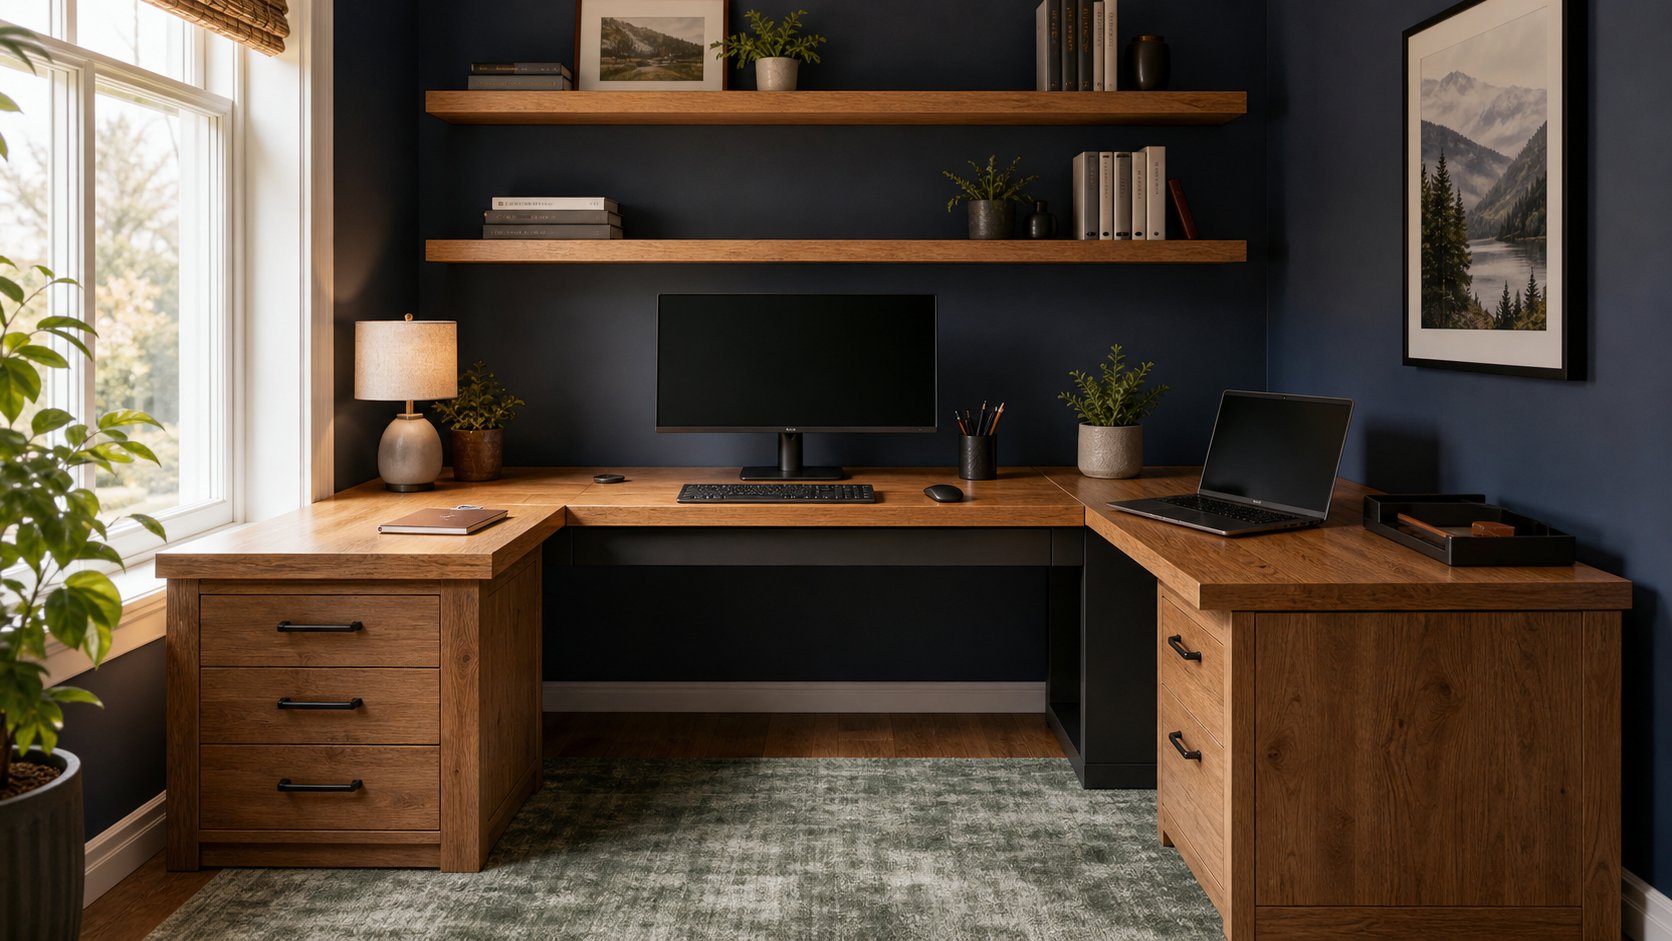
9. Corner desk from two independent surfaces
Place two complete, independently supported straight desks at right angles rather than joining an unsupported return.
Best for: a flexible L-shaped layout.
Why it works: each desk keeps its own structure and can move later.
Watch for: a seam in the main work zone and trapped cables. Keep the keyboard and primary screen on one surface.
10. Reclaimed door desk
A solid flat door can become a large top when its construction is known and hardware holes are repaired.
Best for: a distinctive large surface using a suitable salvaged item.
Why it works: existing dimensions can be generous.
Watch for: hollow-core construction, lead paint on older finishes, warping and excessive weight. Never cut or sand an unknown old coating without proper hazard assessment.
11. Drafting-style tilted section
Add a small purpose-built tilting board on top of a conventional stable desk rather than making the whole desk tilt.
Best for: sketching or document annotation alongside computer work.
Why it works: preserves a level zone for electronics.
Watch for: finger traps and sliding objects. Use rated hardware and a positive stop.
12. Frame-only sit-stand desk
Buy a listed adjustable frame and add a compatible custom top within the manufacturer’s size, thickness and weight range.
Best for: custom material with powered height adjustment.
Why it works: the lifting structure and controls remain an engineered system.
Watch for: drilling into the wrong area, exceeding frame dimensions and counting only equipment—not the top—in the capacity. Follow the frame template exactly.
Choose a useful size
Start with equipment, not a standard number.
Width
Allow the keyboard and primary pointer zone to remain centered. Add width only for active documents or equipment.
Depth
Place the screen at a readable distance without pushing the keyboard to the front edge. Deep monitor feet can consume more space than the display itself.
Height
A fixed top should allow relaxed shoulders and neutral wrists with feet supported. If the room’s standard height is too high, raising the chair requires a stable footrest.
Use the desk project planner to record dimensions, support spacing and target height.
Prevent sagging
Sag depends on material, thickness, span, load and support. A thick-looking hollow panel can be weaker at a clamp point than thinner quality plywood.
Safer approaches include:
- Shorter unsupported spans
- A center leg
- A rear stretcher
- A properly designed apron
- Steel stiffening channels specified for the build
- A structural frame
Do not use an online sag calculator as the sole basis for a desk carrying expensive equipment or supporting people. Desks are not benches; never sit or stand on one unless designed and rated for that use.
Finish edges and surfaces
Round over or sand contact edges so forearms do not rest against a sharp corner. Follow dust-control and respiratory guidance for the material and finish.
- Work in appropriate ventilation.
- Wear eye and hearing protection for powered tools.
- Use suitable dust extraction.
- Keep guards installed.
- Let finishes cure fully before bringing electronics back.
- Dispose of oily rags according to the finish maker’s fire-safety instructions.
Some engineered wood products and old coatings need special handling. Read safety data and local disposal requirements.
Plan monitor mounts early
A clamp needs a structurally suitable area with enough rear clearance. Avoid clamping to:
- Hollow-core doors
- Weak honeycomb tops
- Unsupported particleboard edges
- Glass
- Stone without explicit approval
- Areas crossed by fasteners or cable channels
A reinforcement plate spreads force but does not certify an unsuitable top. Use the monitor-arm guide before drilling or clamping.
Cable management without electrical improvisation
Add a removable cable tray, clips and service loops. Keep power adapters ventilated and cords away from sharp cutouts.
Do not build outlets, splice extension cords or enclose mains connections unless qualified and permitted. Mount only listed power products according to their instructions. A desk grommet needs a smooth edge and enough room for connector heads.
Build in a safe order
- Make a measured drawing.
- Confirm material and hardware capacities.
- Mark utilities before wall drilling.
- Cut and finish the top.
- Assemble supports on a flat surface.
- Square and level the base.
- Secure the top with appropriate fasteners.
- Test with gradual dead load.
- Add electronics and cables.
- Recheck connections after initial use.
Heavy tops and adjustable frames commonly require two people.
Final recommendation
Choose plywood on trestles for the easiest adaptable project, butcher block on rated legs for a durable straight desk, a supported alcove top for an awkward nook, two independent desks for a flexible corner, or a manufacturer-approved frame-and-top combination for sit-stand use.
Spend first on a stable structure, useful depth and smooth edges. A successful DIY desk is not the cheapest photograph—it is a repairable work surface whose support, clearances and cable path you can explain.