How to Make Your Desk More Ergonomic: 7 Free Changes
Make your desk more ergonomic without new furniture. Adjust chair height, keyboard reach, screen position, foot support, lighting and movement.
What to know first
- Start with the work you do, not the look you want.
- Protect clearances before choosing furniture.
- Spend first on items you touch for hours each day.
You can make a desk more ergonomic without buying a new chair, standing desk or monitor arm. Start by fitting the workstation to your body: support the feet, bring the keyboard and mouse close, put the main screen directly ahead and change position before discomfort builds.
The seven changes below cost nothing when you use equipment already in the room. They are starting points, not rigid rules or treatment for an injury.
Quick adjustment order
| Step | Change | What it reduces |
|---|---|---|
| 1 | Set chair and feet | Unsupported legs and raised shoulders |
| 2 | Bring input devices close | Forward reaching |
| 3 | Center and position screen | Neck turning and leaning |
| 4 | Clear knee space | Twisted or distant sitting |
| 5 | Move frequent tools closer | Repeated reaching |
| 6 | Control glare and text size | Squinting and leaning |
| 7 | Add position changes | Long uninterrupted exposure |
Adjust one variable, work normally for a day and note what changed. A workstation rarely improves when every component moves at once.
1. Set chair height from the keyboard
Sit close enough that the upper arms can hang near the torso. Adjust the chair so the elbows are around keyboard height and the shoulders stay relaxed while typing.
Keep wrists broadly aligned with forearms rather than bent sharply upward or sideways. A small variation is normal; the goal is to avoid a strained position held for hours.
If the chair is too low and cannot adjust, use a firm, non-slip seat pad only when it remains stable and does not remove useful back support. Do not stack loose cushions.
If the fixed desk is high, raising the chair may be necessary. That makes foot support the next step.
The proper desk posture guide explains how the chair, desk and input devices work together.
2. Support the feet with what you have
Feet should rest on the floor or on a stable support. Dangling legs can create pressure under the thighs and make it harder to use the backrest.
Possible temporary footrests include:
- A firm box filled so it cannot collapse
- A low storage crate with a flat top
- A stable step platform
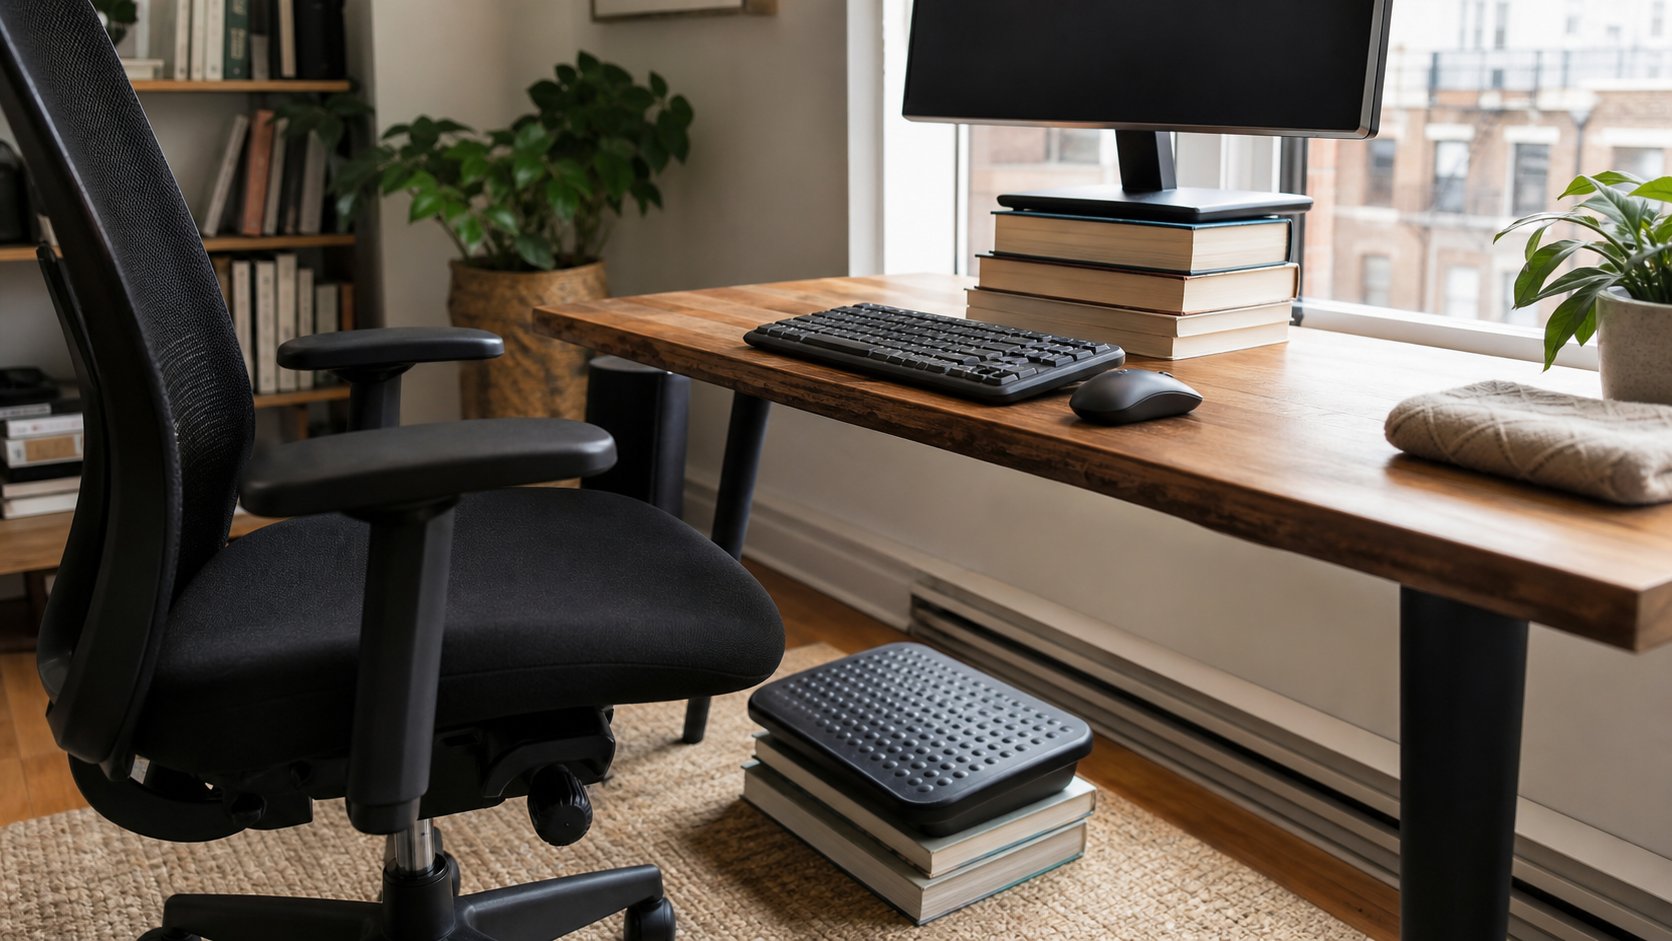
- A large hardcover book stack secured against sliding
The support should be broad enough for both feet and should not roll, tip or crush. Avoid a loose object that can enter caster paths.
If a homemade solution works, measure its height before considering a dedicated footrest.
3. Bring the keyboard and mouse closer
Move both devices near the front of the desk so you do not reach. Keep the mouse immediately beside the keyboard at approximately the same height.
Free space often appears by:
- Moving decorative items to a shelf
- Routing cables behind the monitor
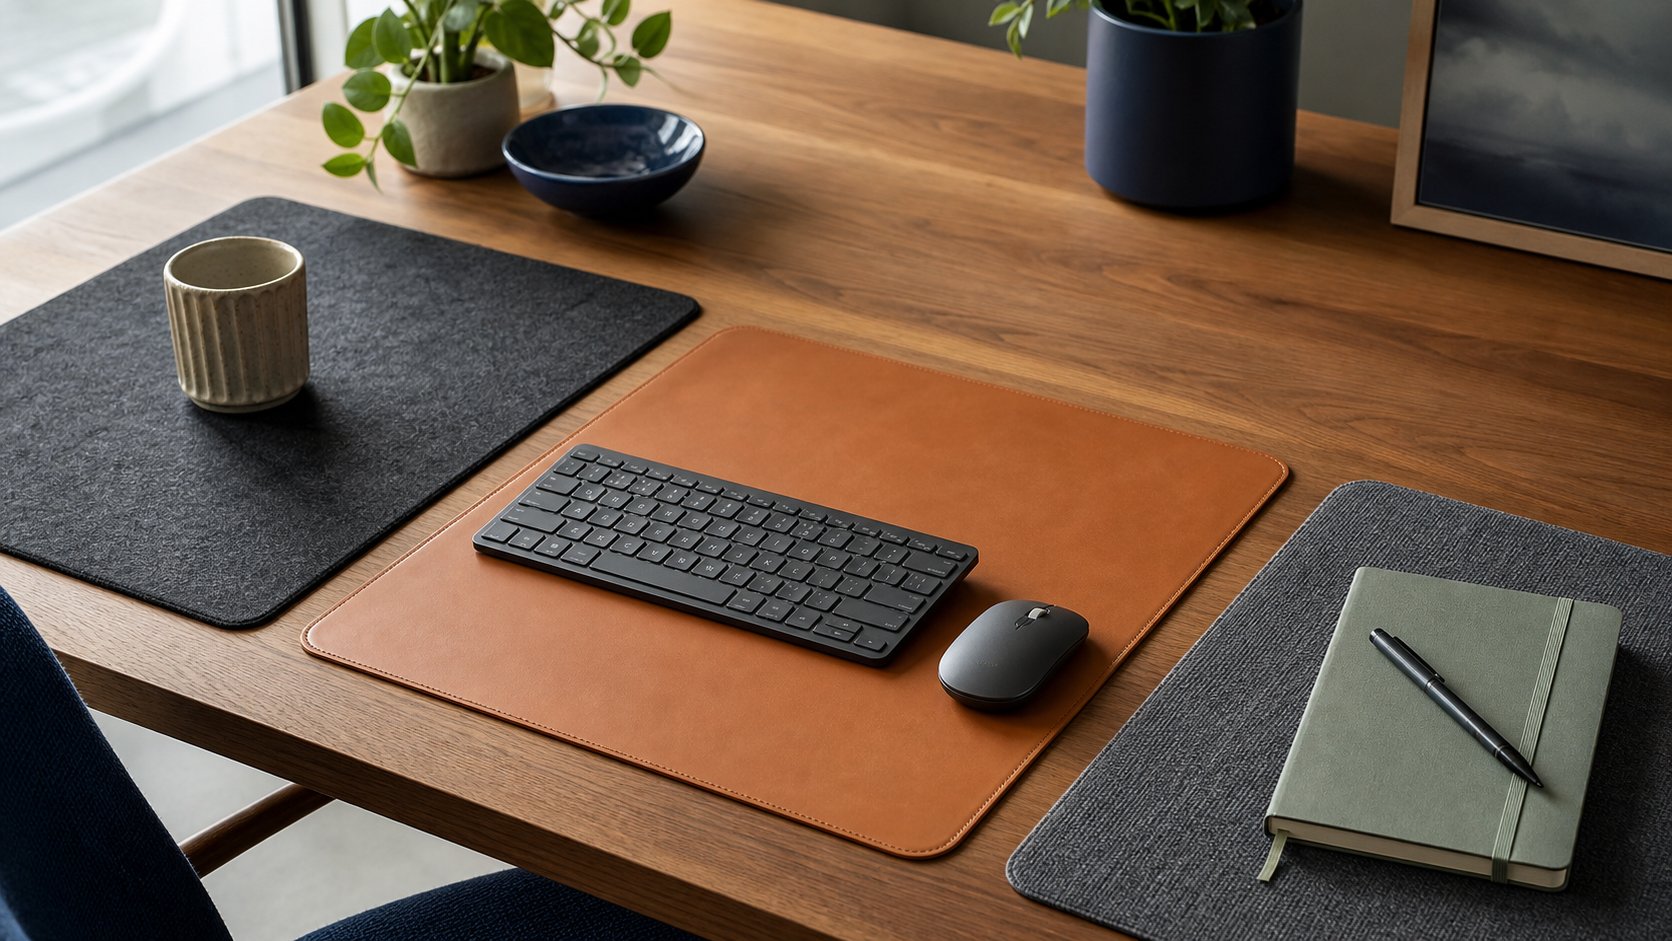
- Removing a full-size desk mat that catches the keyboard
- Shifting paperwork to the non-mouse side
- Moving the laptop off-center when it is not the main screen
Do not plant the wrists on a hard desk edge while typing. A wrist rest supports the palm during pauses; it is not a pressure point for active keying.
Lower keyboard feet if they force the wrists upward. Many people type more comfortably with the keyboard flat or slightly negatively tilted, but fit varies.
4. Center the primary screen
Put the screen used most directly ahead. Position it at a distance where ordinary text is clear without leaning forward—often roughly an arm’s length, adjusted for screen size, vision and text scale.
Start with the top of the visible screen around eye level or slightly below. People who use progressive or bifocal lenses may need it lower so they can look through the correct lens area without tipping the head back.
The US Occupational Safety and Health Administration recommends placing frequently used components in front and keeping the top of the monitor no higher than the horizontal line of sight. Its computer workstation guidance also emphasizes supported feet, relaxed reach and posture changes.
Raise a low monitor with a stable stand or broad books. The base must remain fully supported. Do not create a narrow, unstable tower.
Use the monitor-height guide for single and multiple displays.
5. Clear the space under the desk
Storage under the desk can force the chair sideways or prevent it from getting close enough.
Remove:
- Boxes between the feet
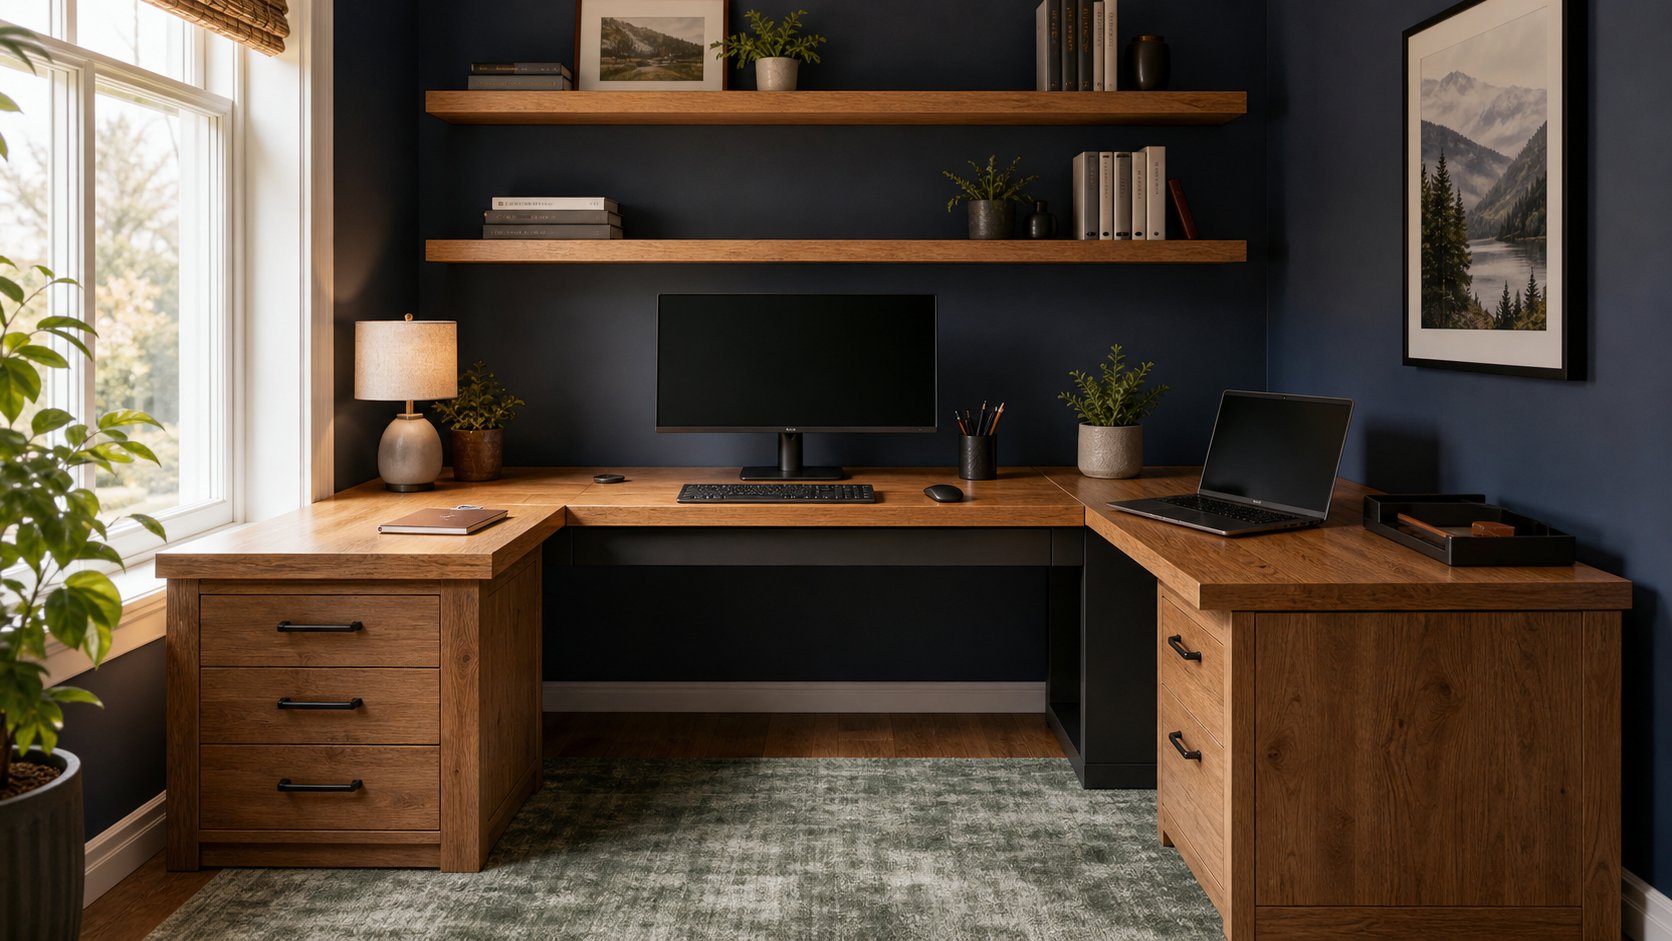
- Drawer units that narrow the centered position
- Cables crossing the leg area
- Bags hanging where knees turn
- Computer towers blocking one foot
You should be able to sit centered, change leg position and approach the keyboard without leaning.
Keep power equipment ventilated and protected from feet. Never relocate it into a closed box or create tension on electrical cables simply to clear space.
6. Put frequent tasks inside easy reach
Arrange the desk by frequency, not appearance.
Primary reach zone
Keyboard, mouse and the object used every few minutes belong closest.
Secondary reach zone
Notebook, phone, water and occasional controls can sit farther away.
Storage zone
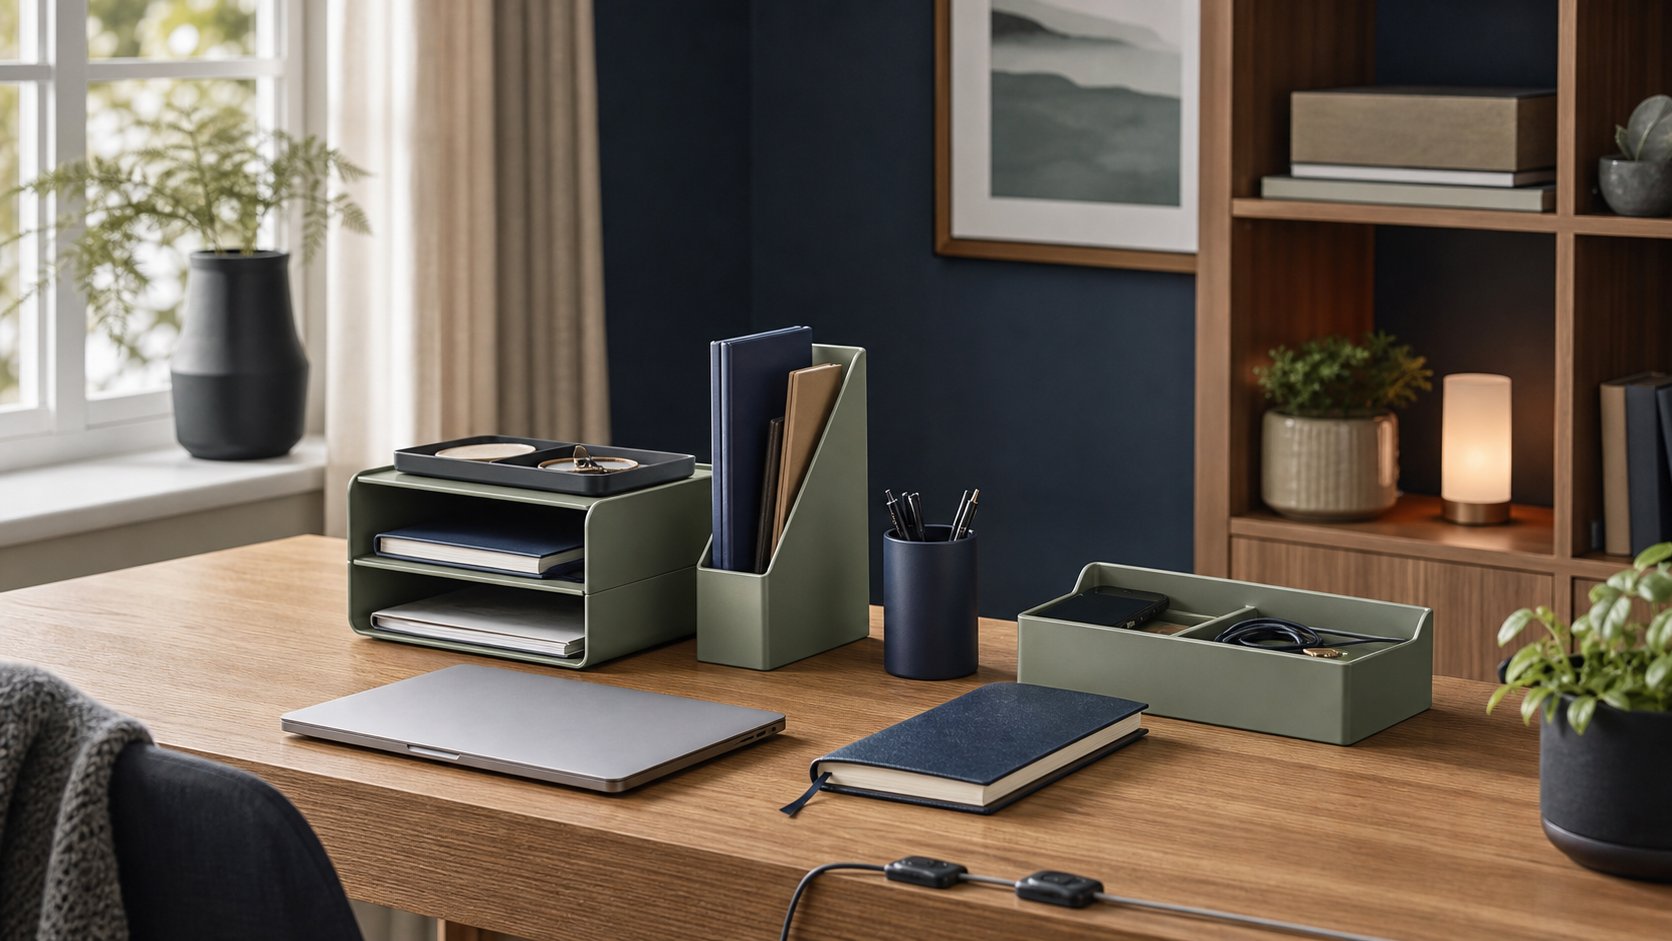
Reference material, adapters and seldom-used supplies belong in drawers or shelves.
Move the phone to the non-mouse side if frequent checking interrupts work. Use a headset or speakerphone rather than holding a phone between shoulder and ear.
If printed material is central to the task, place it close to the monitor on a stable document support. This reduces repeated head turning and downward bending.
7. Fix visibility before moving your head
Increase text size and contrast so you can sit back rather than leaning toward the screen. Zoom browser and document interfaces instead of moving the monitor dangerously close.
Control glare by turning the screen perpendicular to a window, closing a blind or changing lamp angle. Clean the screen with a manufacturer-approved method.
Use ambient room light plus an adjustable task light for paper. Do not aim a bright bare source into the eyes or screen.
Our desk-lamp guide covers beam placement and controls.
Add movement without buying a standing desk
No static position is perfect for an entire day. Change demand regularly:
- Stand during an audio-only call
- Walk to refill water
- Read a document away from the screen
- Alternate mouse hands for simple navigation if comfortable
- Perform a short household task between blocks
- Look across the room during a visual break
Short, frequent changes are easier to sustain than one long exercise break after hours of stillness. The UK Health and Safety Executive notes that changes of activity should allow workers to move, change posture and rest their eyes; see its display-screen work routine guidance.
Use a laptop differently for short and long sessions
A laptop is a compromise because the screen and keyboard move together.
Short session
Sit back, support the laptop on a firm surface and limit the duration. Change posture often.
Longer session
Raise the screen and use an external keyboard and mouse, or keep the laptop low for typing and connect a separate screen at a comfortable height.
Never place a working laptop on soft bedding that blocks ventilation.
Two-minute self-check
From your normal working position, ask:
- Are both feet supported?
- Are shoulders relaxed?
- Can elbows remain near the torso?
- Are keyboard and mouse close together?
- Is the main display directly ahead?
- Can I read without leaning or squinting?
- Is the backrest supporting me?
- Can I change position easily?
- Is anything pressing against the wrists or thighs?
Take a side-view photograph for your own review if privacy permits. The image often reveals reaching or head turning that feels normal.
What not to improvise
Do not use unstable books under chair legs, broken furniture, a rolling foot support, an overloaded shelf or a monitor stand narrower than the base.
Do not make permanent modifications to employer-owned equipment without approval. Avoid drilling into a hollow desktop or mounting heavy equipment without confirming load limits.
A free adjustment must still be safe.
If discomfort continues
Ergonomic changes can reduce awkward positions, but persistent pain, numbness, weakness or tingling deserves assessment by a qualified health professional. Sudden severe symptoms, symptoms after trauma or other worrying changes may require urgent care.
Do not work through escalating symptoms because the workstation looks correct. There is no single perfect posture that diagnoses or fixes a medical problem.
A seven-day setup test
Day 1: Adjust chair and feet.
Day 2: Bring keyboard and mouse close.
Day 3: Center and size the display.
Day 4: Clear knee space.
Day 5: Rearrange tools by frequency.
Day 6: Adjust lighting and text size.
Day 7: Add two reliable movement cues.
Record only useful outcomes: end-of-day comfort, how often you leaned, and whether the setup supported normal work.
Final recommendation
To make a desk more ergonomic, start at the hands and feet. Set chair height to the keyboard, support the feet, bring input devices close and center the main screen. Clear the leg area, improve visibility and change position through the day.
Test those free changes before shopping. When an adjustment helps but cannot be made safely with current equipment, its required measurement tells you exactly what the eventual upgrade must solve.