15 Minimal Desk Setups That Improve Focus Without Feeling Empty
Explore 15 practical minimal desk setups for laptops, monitors, small rooms and creative work—plus a step-by-step plan to reduce clutter without losing function.
What to know first
- Start with the work you do, not the look you want.
- Protect clearances before choosing furniture.
- Spend first on items you touch for hours each day.
A minimal desk setup keeps the tools required for the current work visible and gives everything else a deliberate home. It is not an empty desk staged for a photograph. A useful minimalist workspace still supports charging, notes, calls, comfortable input and the occasional imperfect day.
The 15 setups below solve different constraints: limited depth, frequent video meetings, laptop mobility, creative equipment and shared rooms. Use them as patterns, then keep only the elements that serve your own workflow.
What makes a desk setup minimal?
A minimal desk has four qualities:
- One clear working zone. The keyboard, mouse and current material do not compete with storage.
- A controlled number of permanent objects. Equipment used daily stays; occasional tools move to secondary storage.
- Simple cable routes. Power and data follow one understandable path.
- Visual consistency without forced matching. Repeated materials or colors calm the surface, but function decides what remains.
Minimalism does not require white furniture, hidden technology or throwing away useful possessions. It reduces decisions and repeated rearranging.
1. The single-monitor writing setup
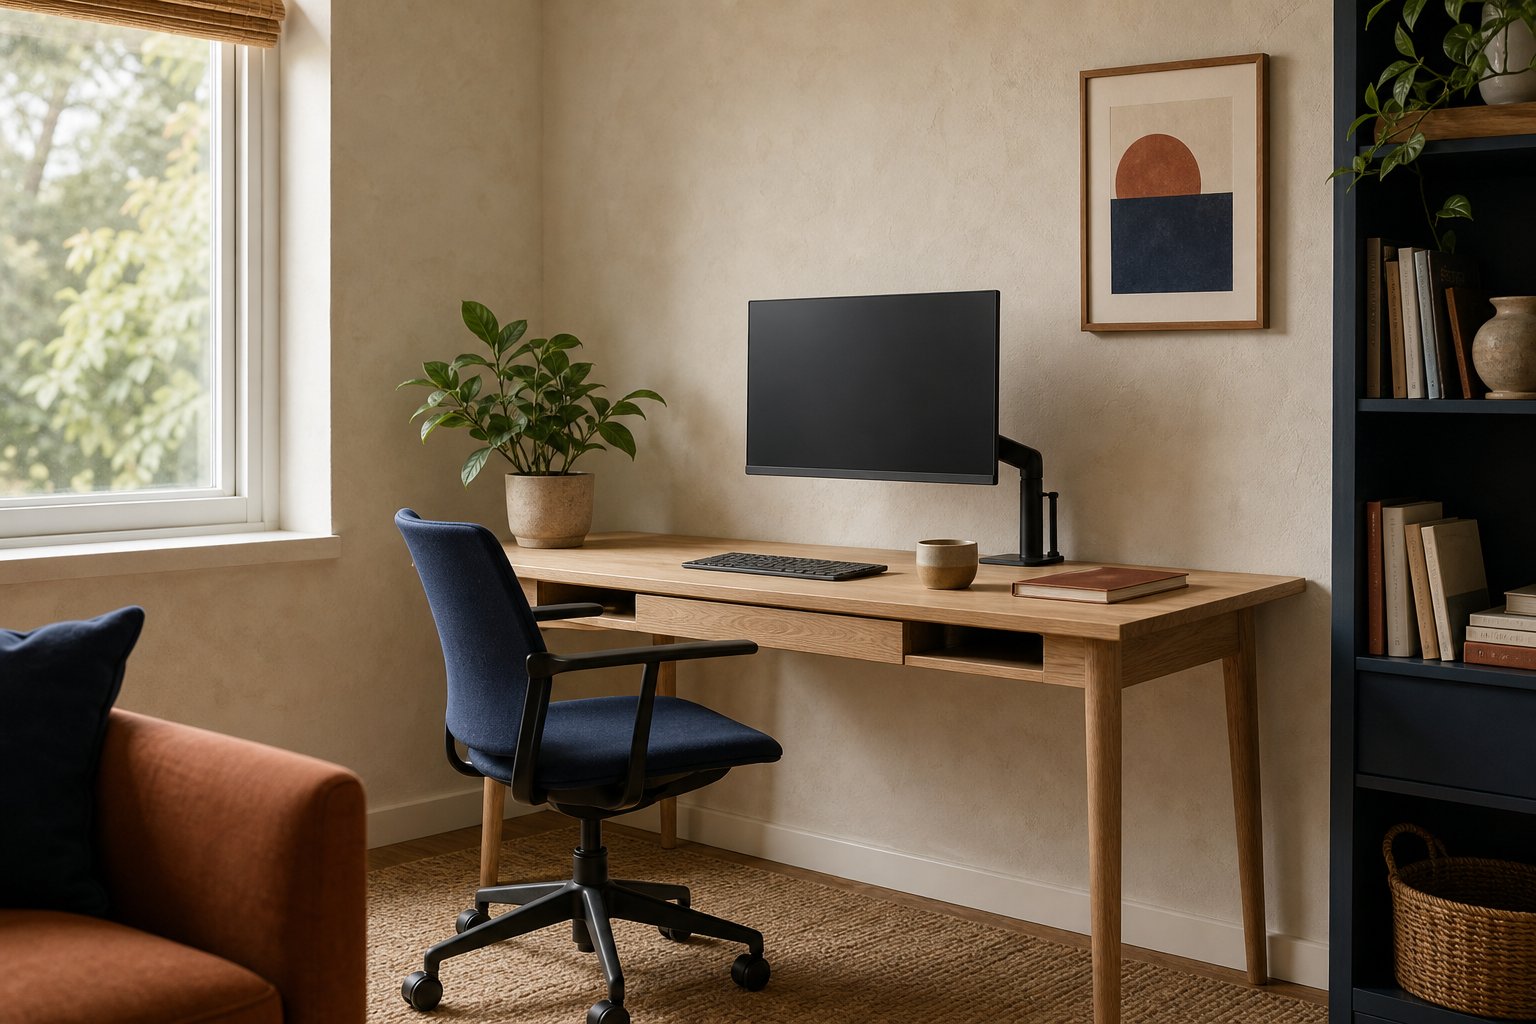
Use one 24- to 27-inch monitor, a compact keyboard, mouse and one paper notebook. Mount the display on an adjustable stand or arm so the supplied base does not consume the center of the desk.
Keep reference books on a side shelf and use virtual desktops rather than a second display for occasional applications.
Best for: writers, editors and focused knowledge work.
Keep visible: monitor, input devices, task light and current notebook.
2. The laptop-only mobile setup
Use a laptop, compact wireless mouse and one accessory pouch. The whole setup should pack down in less than two minutes.
For longer sessions, add a folding laptop stand and slim keyboard. Store them vertically in the same pouch or a nearby drawer.
Best for: shared tables, travel and hybrid workers.
Trade-off: small screens and limited independent positioning.
3. The laptop-and-riser setup
Raise the laptop on a stable stand, then place an external keyboard directly below it. Keep the mouse close by choosing a keyboard without a number pad when you rarely use one.
Route one charging cable to the rear and keep the laptop centered. This produces a compact footprint without the neck position of a low laptop screen.
Best for: people who use one laptop as their full computer.
4. The monitor-light-bar setup
A monitor light bar can illuminate the keyboard and paper without a lamp base. It is especially useful on a narrow desk where every corner matters.
Choose a light designed to direct illumination onto the desktop rather than the screen. Add low ambient room light so the monitor is not a bright rectangle in darkness.
Best for: shallow desks and evening work.
Trade-off: less useful for large paper tasks or video-call lighting.
5. The warm wood setup
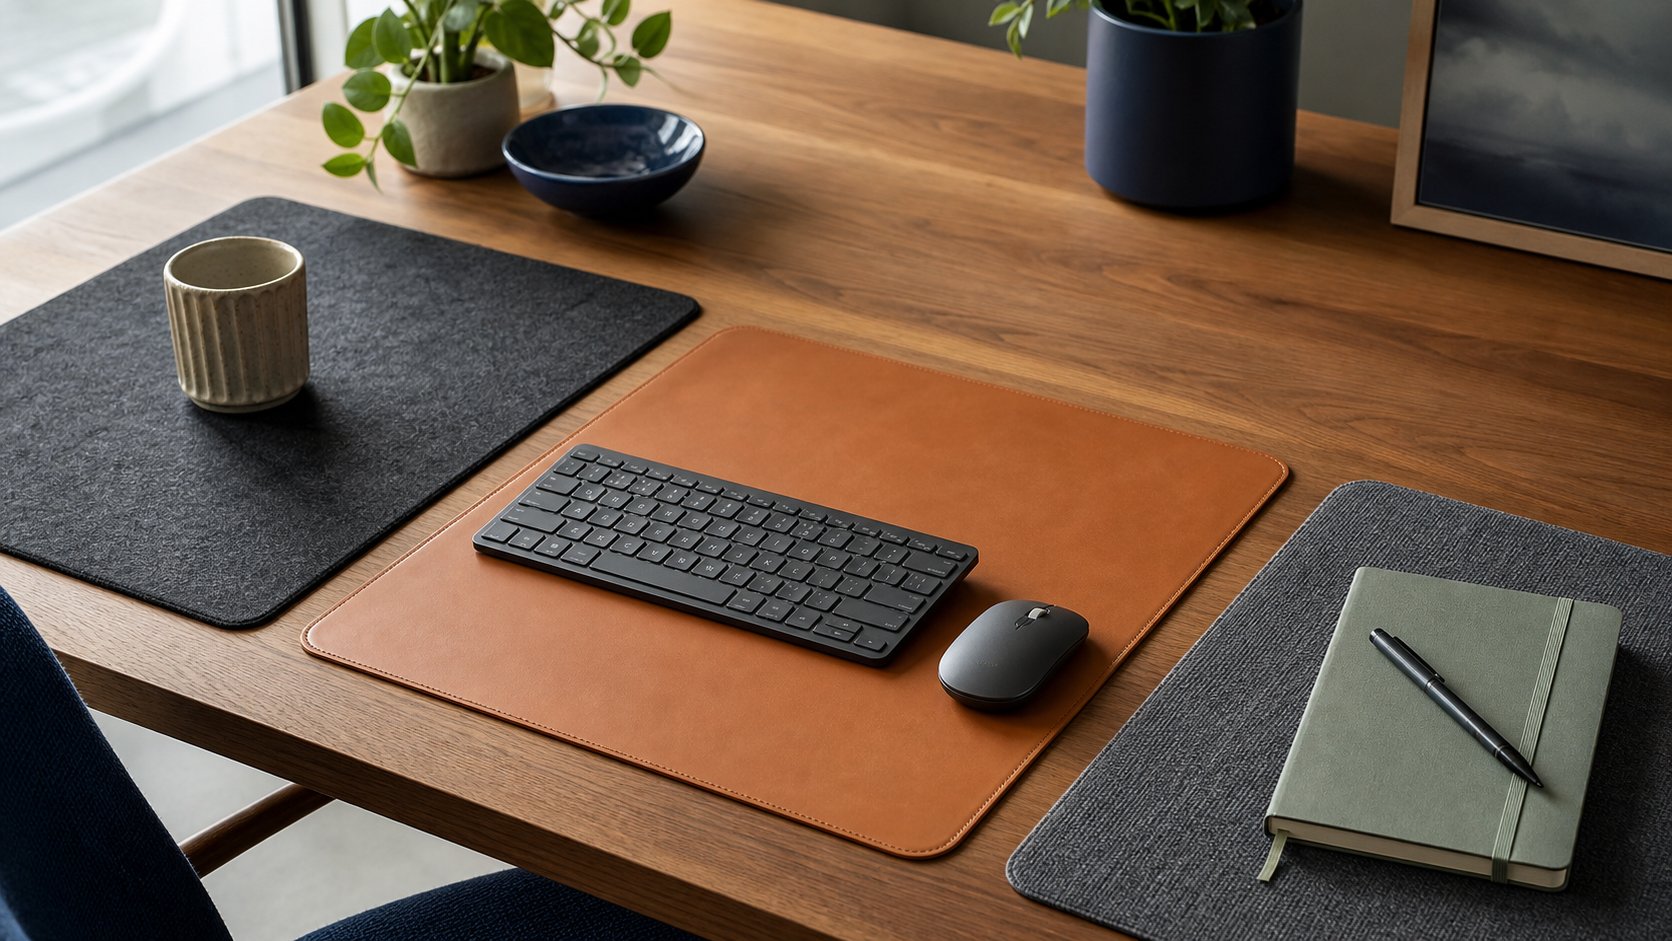
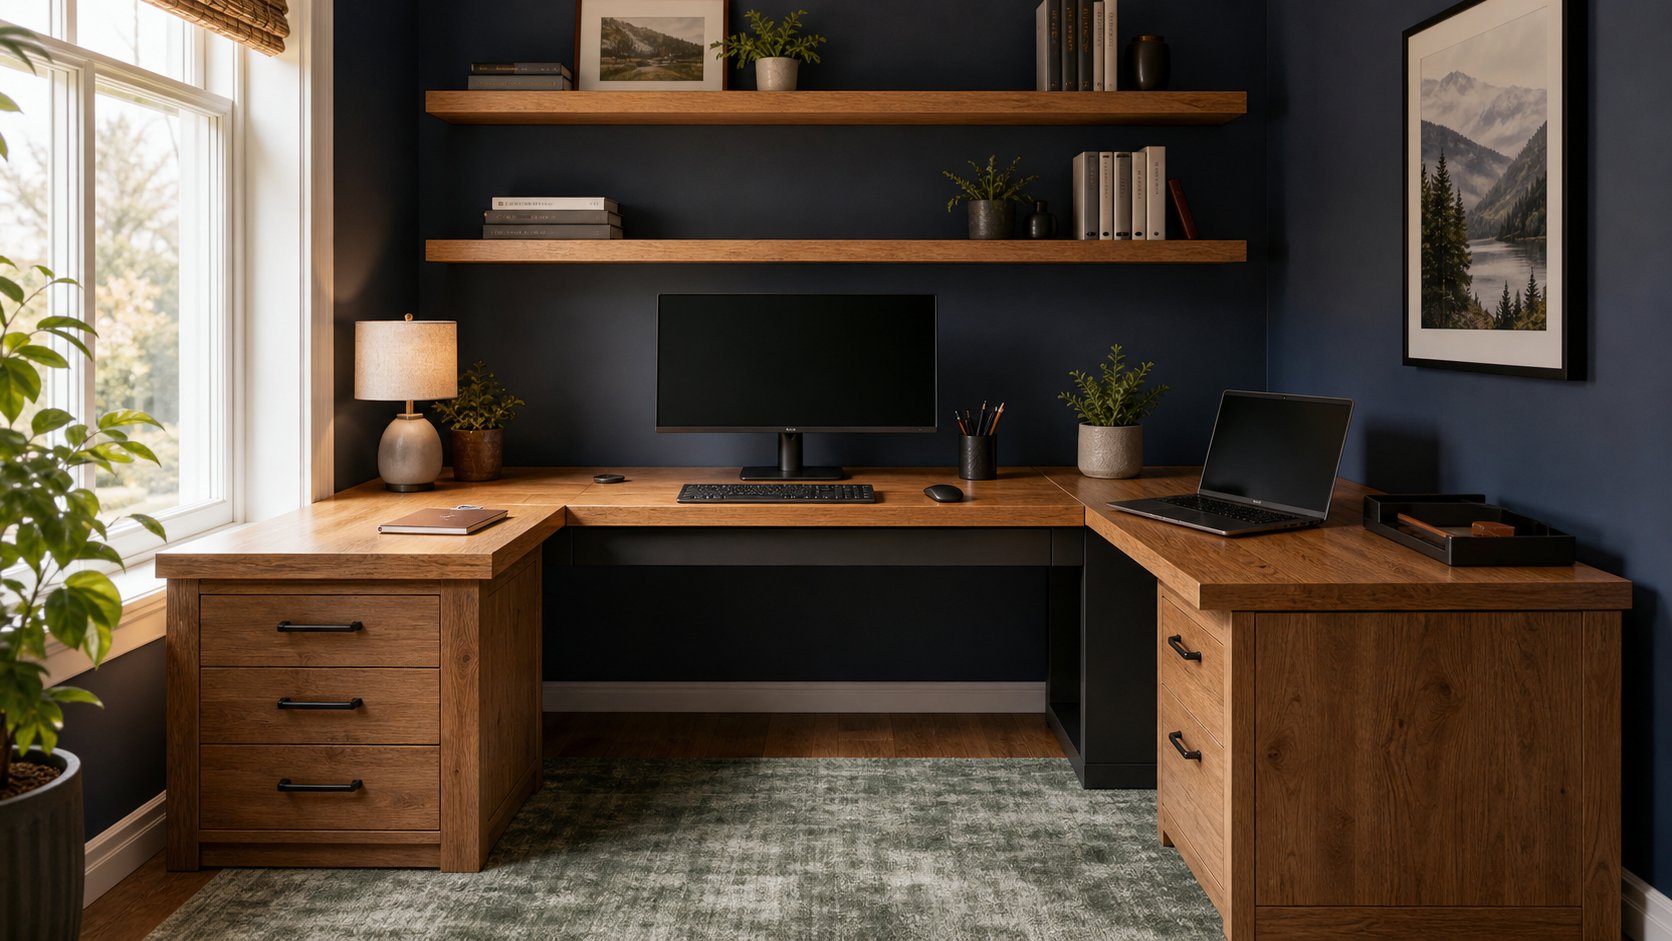
Pair a wood or wood-look worktop with dark input devices and one warm task light. The texture keeps a reduced workspace from feeling clinical.
Use a single tray or drawer for small accessories. Avoid filling the desk with decorative wood organizers before learning what needs storage.
Best for: living rooms and bedrooms where the office should feel residential.
6. The monochrome setup
Choose one dominant neutral color for the desk, monitor arm, keyboard and cable routes. The items do not need to match perfectly; a narrow palette makes different products read as one system.
Add contrast through the desktop or one practical object such as a notebook. Avoid replacing functioning equipment only to achieve a color scheme.
Best for: visually busy rooms.
7. The compact dual-monitor setup
Two displays can still be minimal when they match in size, align cleanly and sit on one dual arm. Keep the cables in one sleeve from the arms to the under-desk tray.
If one monitor is primary, center it and angle the second inward. Minimal appearance should not force the neck toward a screen used all day.
Best for: analysis, development and document comparison.
Trade-off: more width, power and cable complexity.
8. The vertical-secondary-screen setup
Use one landscape monitor for primary work and rotate a smaller second screen vertically for documents, code or communication.
This reduces horizontal width and encourages a specific role for the secondary display. Confirm the monitor stand, operating system and application support rotation.
Best for: long documents, code and narrow workstations.
9. The call-first setup
Center a webcam at eye height, keep a compact headset on an under-desk hook and use one soft light near the camera. Place call controls on the laptop or a small secondary tablet.
The background should contain a few intentional objects rather than a shelf filled for the camera. Clear private notes from view.
Best for: consultants, sales teams and remote managers.
10. The paper-and-digital setup
Keep the computer on one side and a clear A3- or letter-size work area on the other. Use a vertical file holder for the active project and store archive material elsewhere.
A movable task lamp can shift between screen and paper work. Do not center the monitor if it forces the keyboard away from your body; center the current primary task.
Best for: finance, teaching, design review and administration.
11. The creative-tool setup
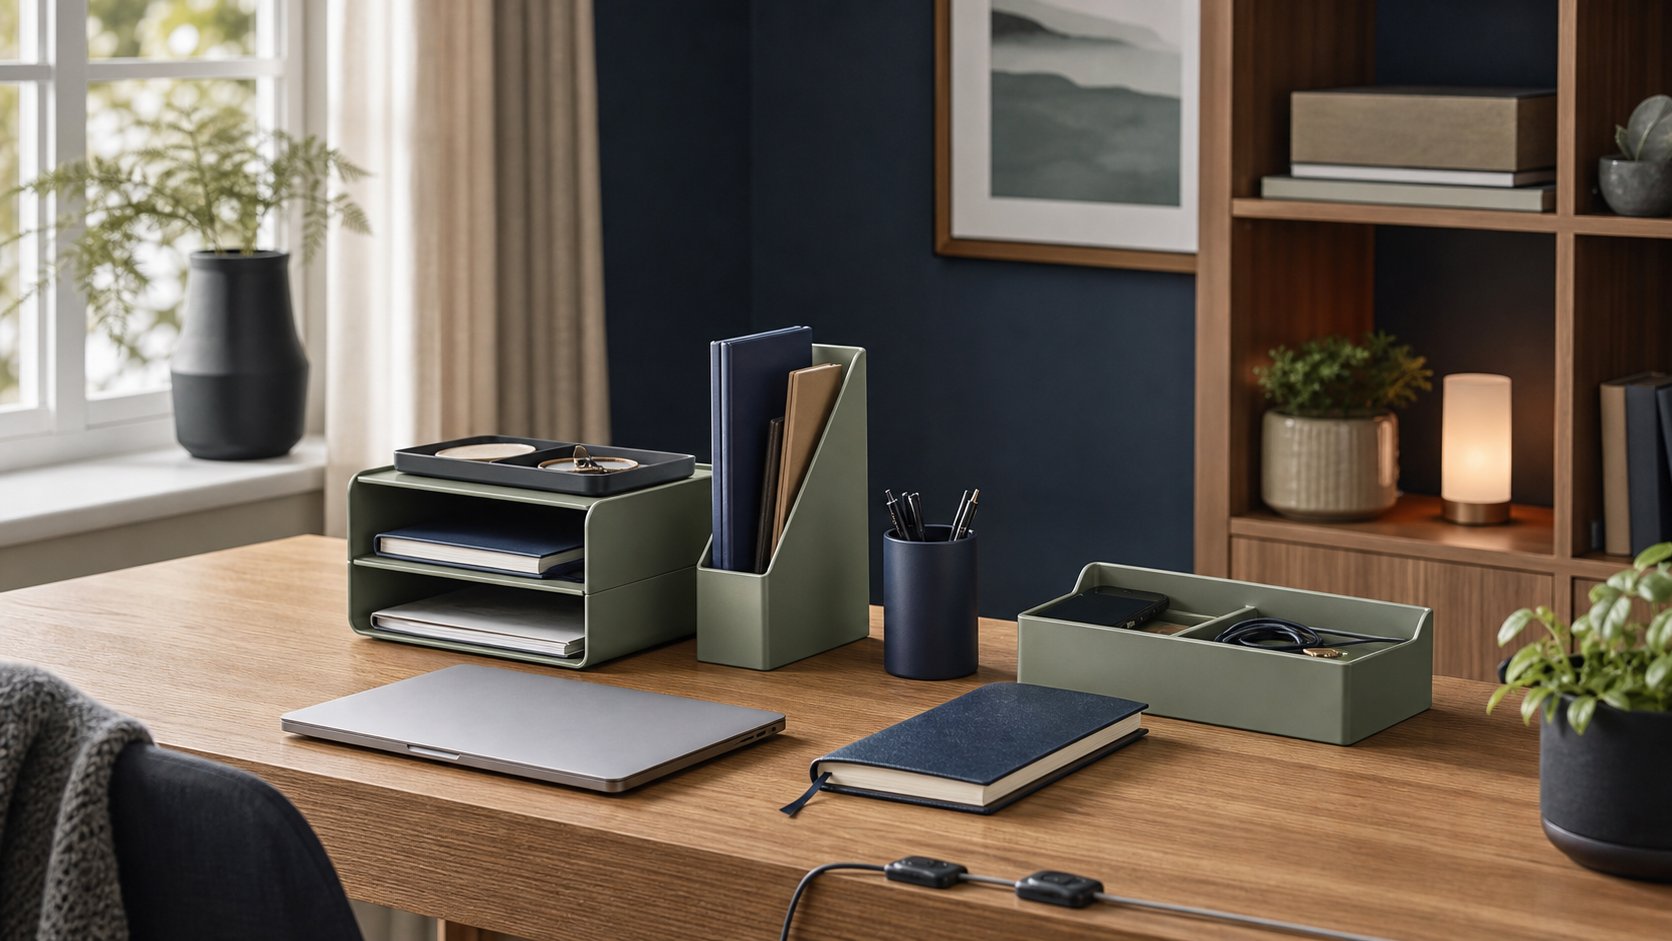
Give the pen tablet, camera or audio controller one docking position. Store cables and secondary accessories in a labeled drawer insert.
Minimalism for creative work means reducing setup time, not hiding the tools. A clear production path matters more than an empty surface.
Best for: photographers, illustrators and audio creators.
12. The standing-desk setup
Mount the power strip, dock and excess cable beneath the moving desktop. Keep only the screen, keyboard, mouse and one input or notebook on top.
Use memory presets so changing height does not become another adjustment project. Test cables at maximum and minimum height.
Best for: workers who value position changes.
13. The shared-room setup
Use a desk with closed storage or one lidded work box. At shutdown, place the keyboard, notebook and headset inside; close the laptop and turn off the task light.
One repeated closing action can create more calm than permanent ultra-minimal styling.
Best for: bedrooms, studios and family rooms.
14. The wall-mounted setup
A wall-mounted desk and shelf keep the floor visible and reduce visual weight. Use it only when the wall structure and installation support the required load.
Limit equipment to a laptop or light display unless the system is explicitly rated for more. Route one cable channel vertically toward the outlet.
Best for: narrow rooms and alcoves.
15. The no-purchase reset
Remove everything from the desk except the computer, keyboard and mouse. Complete one ordinary day. Add back the lamp, notebook, headset and charging cable only when the task requires them.
Use existing boxes or drawers for the trial. Buy organizers after two weeks, when you know what repeatedly needs a home.
Best for: anyone whose desk has accumulated objects without a plan.
The three-zone method
Divide the desk by frequency of use.
| Zone | Reach | What belongs there |
|---|---|---|
| Primary | Used continuously | Keyboard, mouse, current input tool |
| Secondary | Easy arm reach | Notebook, water, phone dock, headset |
| Off-desk | Requires a deliberate reach | Chargers, files, spare devices, supplies |
The primary zone should remain clear enough to change tasks. The secondary zone can hold a small number of useful items. Everything else leaves the work surface.
Minimal cable management
Begin at the outlet and work toward the device.
- Mount or place one safe surge protector in an accessible location.
- Keep fixed adapters in an under-desk tray.
- Group monitor and dock cables by destination with reusable ties.
- Route one power run down a rear desk leg.
- Keep daily charging cables in edge clips or on a separate charging shelf.
- Label hidden connections before bundling them.
Do not pull cables tight or hide hot adapters inside unventilated boxes. A minimalist cable system must remain safe and serviceable.
What to keep on the desk
Keep an object visible when all three statements are true:
- You use it most workdays.
- Its location reduces repeated friction.
- It does not obstruct the primary work zone.
A headset may belong on a hook under the desk. A favorite pen may stay beside the notebook. A phone may work better on a shelf beyond arm’s reach.
Minimal does not mean every object disappears. It means each visible object has a reason.
How to reduce digital clutter too
A clean surface cannot compensate for a screen full of interruptions. Pair the physical reset with:
- One work browser profile
- A small number of pinned applications
- Folders based on current projects, not file type alone
- A default download-cleanup time
- Notification rules that preserve urgent channels
- One capture location for tasks and ideas
Do not replace one crowded desktop with five overlapping organization tools.
Common minimalist desk mistakes
Buying organizers before reducing. Containers can preserve clutter more neatly without solving it.
Hiding equipment you use every hour. Repeated unpacking adds friction.
Choosing a desk that is too shallow. A small visual footprint can produce an uncomfortable viewing distance.
Removing all personal objects. One meaningful object can make the office feel like a place you want to use.
Matching at any cost. Do not replace reliable equipment only because its color differs.
Ignoring sound and lighting. An empty desk is not functional when calls echo and the screen reflects a window.
Continue refining the workspace
Use the complete home office setup guide to check dimensions and buying priorities, then clean the finished system with the desk cable management guide. If floor area is the constraint, compare the small home office layouts.
A one-week minimal desk reset
Day one: Photograph the desk, then remove everything not required for today’s primary task.
Days two and three: Track each item you retrieve. Give frequently retrieved objects a secondary-zone home.
Day four: Route power and data into simple groups.
Day five: remove duplicate supplies and archive finished projects.
End of week: Buy only the storage or mounting accessory that solves a repeated problem.
A successful minimal desk setup makes beginning and ending work easier. It does not need to remain photo-ready through every deadline. Protect the working zone, keep the daily tools close and design a quick reset for the days when real work creates a little disorder.