Corner Desk Home Office Setup: A Measured Layout Guide
Plan a corner desk home office with accurate wall, chair and monitor measurements, a centered primary work zone, clear legroom and a safe cable route.
What to know first
- Start with the work you do, not the look you want.
- Protect clearances before choosing furniture.
- Spend first on items you touch for hours each day.
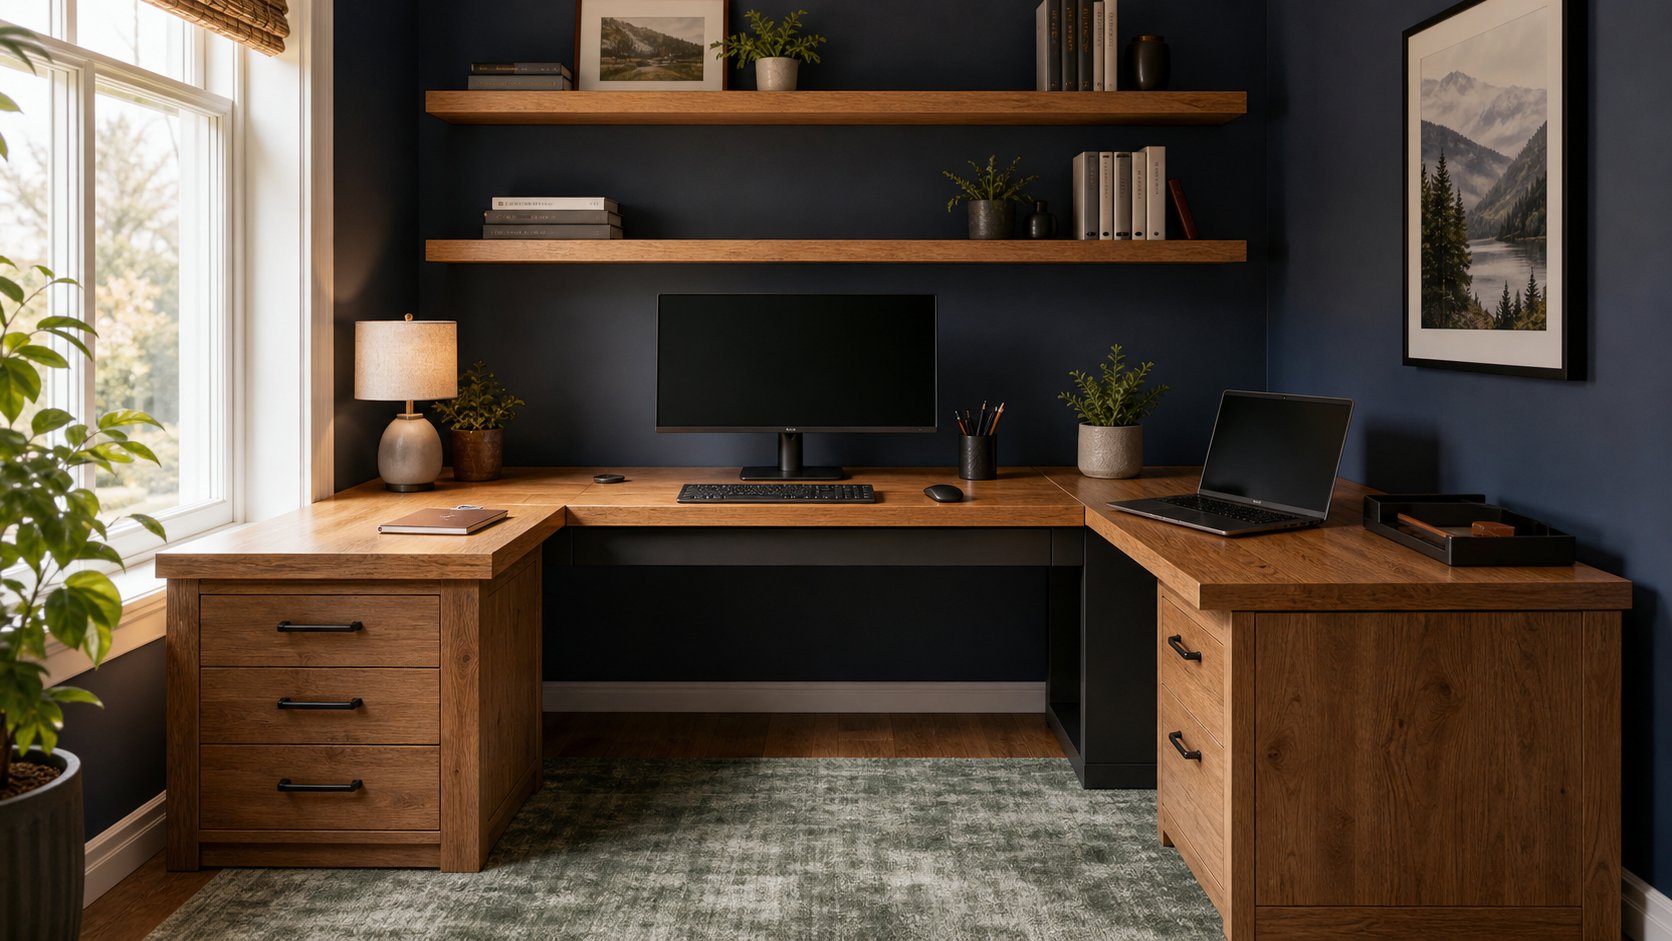
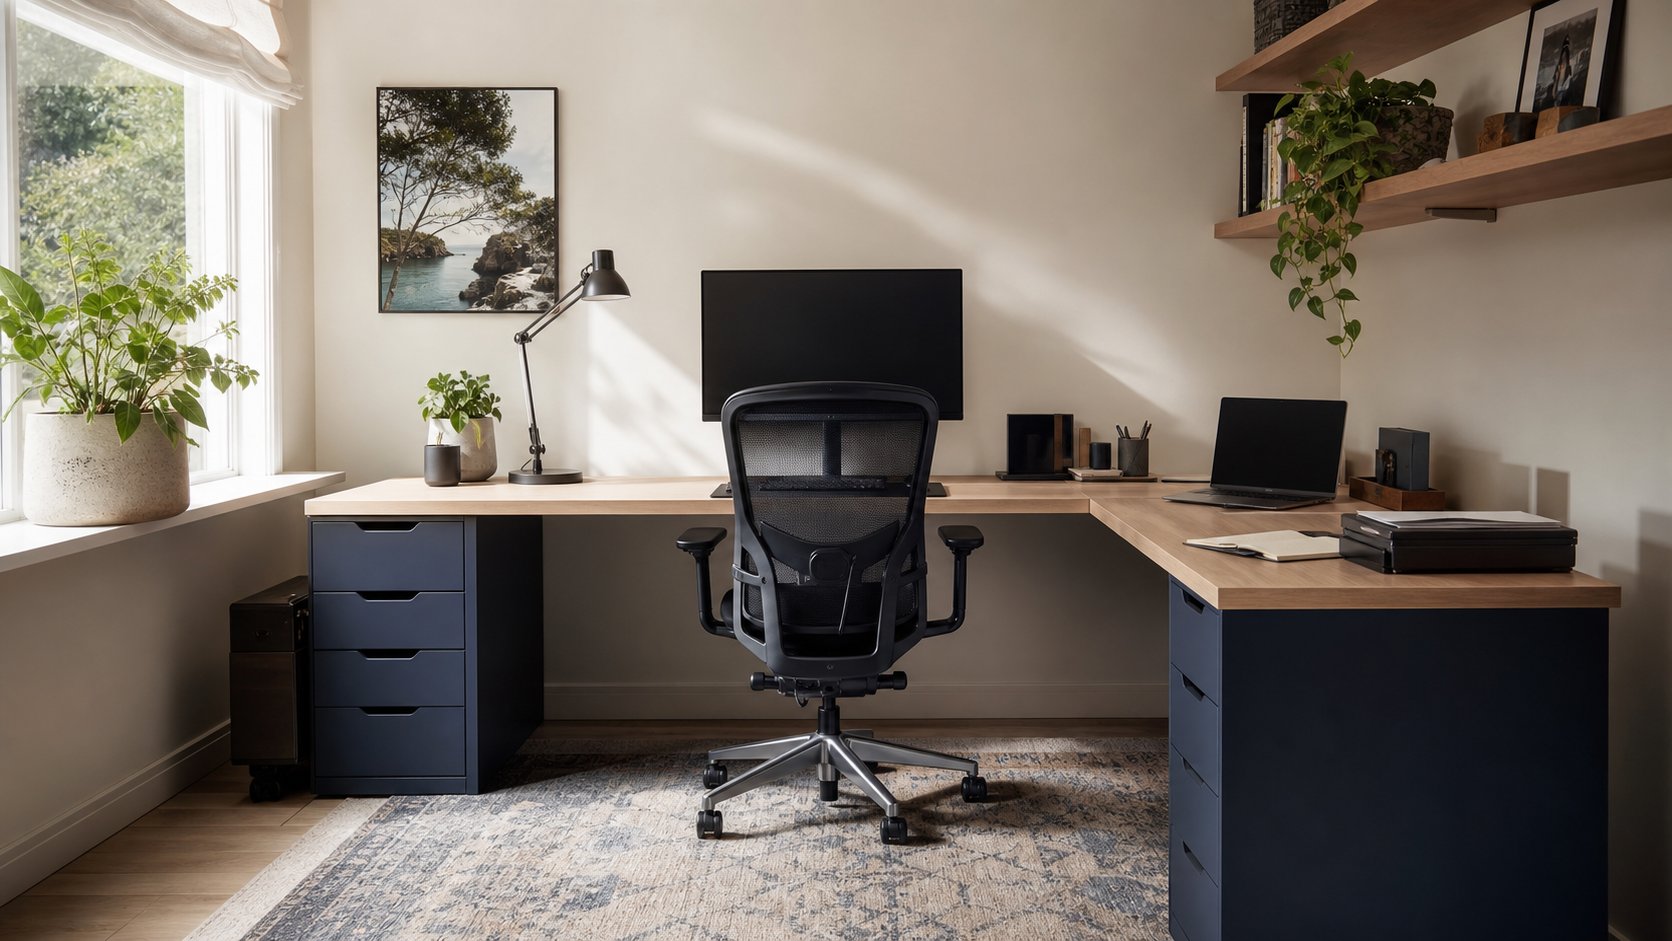
A successful corner desk home office uses one run as the primary computer zone and the return as a secondary surface for paper, equipment or short tasks. Center the main monitor, keyboard and mouse on one straight section whenever possible. Use the corner itself only when it provides enough depth, a smooth front edge and clear leg space.
Measure both walls, the desk’s true outer footprint, chair movement, door swing and delivery route before buying. A desk that fits between two walls can still fail because drawers collide, the return is on the wrong side or the monitor forces a twisted posture.
Choose the right corner layout
| Layout | Best use | Main risk |
|---|---|---|
| L-shaped desk | Two permanent work zones | Return orientation and large footprint |
| Two independent desks | Flexible, replaceable surfaces | Seam and duplicate legs in the corner |
| Diagonal corner workstation | Deep monitor placement | Awkward keyboard edge or wasted rear space |
| Floating corner top | Custom shallow room | Wall structure and load design |
| Straight desk plus cart | Small or changing room | Less continuous surface |
A straight desk and mobile cart often outperform an L-desk when the return has no defined job. Buy the corner footprint only if the second surface will be used every week.
Measure the room from above
Draw a simple plan and record:
- The usable length of both walls
- Baseboard, radiator and window-sill projections
- Door, closet and drawer swing
- Outlet and network positions
- Chair width and roll-back distance
- Floor vents and heating equipment
- Natural-light direction
- The narrowest part of the delivery path
Product pages may show the longest edge, desktop panel size or complete outer footprint. Use the dimensional drawing rather than relying on “60-inch corner desk” in a product name.
Download the corner desk layout planner to compare room and furniture measurements.
Put the primary task on one run
OSHA’s desk guidance notes that a corner can provide useful depth, but the monitor should remain directly in front and frequently used devices should stay within easy reach.
For a conventional computer workflow:
- Center the most-used monitor on the main run.
- Put the keyboard and pointer at the same height.
- Keep the mouse close enough that the elbow stays near the torso.
- Move printers, chargers and reference material to the return.
- Store occasional equipment outside the repetitive reach zone.
Do not center your body on the room while the display sits to one side. The workstation should align around the task, not the furniture’s visual symmetry.
Decide whether to face the corner
Facing the inside corner can create more screen depth. It works only when:
- The front edge lets the chair approach closely.
- The desktop joint is smooth and structurally supported.
- A center leg or pedestal does not block the knees.
- The keyboard and mouse fit on one continuous level.
- The display can remain directly in front.
A sharp 90-degree inside edge can press into the forearms. A curved corner surface may be better, but verify usable depth and monitor-arm clamp access.
If the corner position fails any condition, sit on a straight run and treat the return as secondary space.
Set monitor distance and height
OSHA’s monitor guidance gives a general preferred viewing distance of 20 to 40 inches and recommends placing the display directly in front with its top at or below eye level.
A deep corner is helpful only if text remains readable. Increase operating-system scaling before leaning forward. For multiple displays, keep the primary screen centered and angle secondary screens inward.
Use the correct monitor height guide after the desk and chair positions are fixed.
Protect under-desk clearance
Corner desks often add a support leg, diagonal brace or drawer exactly where the chair needs to move.
Check the full route for:
- Knees in upright and reclined sitting
- Feet and a possible footrest
- Chair base and casters
- Armrests approaching the desk
- Pedestal drawers opening fully
- Cable trays and power bricks
OSHA’s purchasing guidance describes minimum clearance targets, but those values do not guarantee fit for every body or chair. Trace the chair base and knees on the floor with removable tape before assembly.
Choose the return side
Manufacturers do not always define left and right from the same viewpoint. A “left return” may mean left while seated or left while facing the desk from the room. Use the product diagram.
Prefer the side that:
- Keeps the room entrance open
- Avoids the strongest window reflection
- Preserves dominant-hand pointer space
- Leaves drawers accessible
- Keeps frequently used objects near
- Allows a second person to approach safely
A reversible return provides options but can still require major disassembly to change sides.
Compare complete and modular desks
Complete L-shaped desk
A matched frame and top provide documented connections and load limits. This is the safer choice for a powered sit-stand corner desk.
Two separate desks
Each surface supports itself and can be moved later. Keep the main keyboard and mouse on one desk so the seam does not become a contact point.
Drawer-unit combination
Storage can replace some legs, but drawer width reduces knee room and lightweight tops need exact support. Read the IKEA ALEX desk review before mixing modular components.
Wall-mounted surface
A floating top can fit an alcove precisely. Wall construction, hidden services, anchors, span and front-edge support must be professionally assessed where loads are significant.
Plan for sitting and standing
An electric corner desk usually needs three lifting legs and coordinated frame components. A homemade combination of two independent powered desks can move at different speeds and trap cables or fingers at the joint.
Verify:
- Minimum and maximum height
- Complete moving-load capacity
- Top sizes approved for the frame
- Anti-collision limitations
- Control placement
- Full cable travel
- Floor level and stability
Standing does not require filling both surfaces. The main working area still needs the best display and input positions.
Route cables around the corner
A corner layout creates a long cable path with several pinch points.
- Put every device in its final position.
- Mount a listed power strip where it remains ventilated and reachable.
- Route low-voltage cables toward one tray or spine.
- Leave service loops at displays and docks.
- Keep wires away from drawer slides and chair casters.
- Test powered desks at full height and through the corner.
- Label both ends of cables hidden behind the return.
Do not use extension cords as permanent substitutes for properly located outlets. Consult a qualified electrician for new mains power.
Manage windows and calls
Place the monitor perpendicular to a bright window where possible. A screen directly in front of a window can create extreme contrast; a window behind the user can create reflections.
For video calls, use the return for a small lamp, microphone or notes without shifting the webcam away from eye line. Keep confidential papers outside the camera frame.
The video-call setup guide covers camera and light placement in more detail.
A small-room plan
For a compact room:
- Use one 47- to 55-inch primary surface.
- Add a shallower return only for current work.
- Choose a pedestal that does not narrow the knee bay.
- Wall-mount shelves above the secondary zone, not above the head.
- Keep the entrance-side corner visually open.
- Use a monitor arm only on a structurally compatible top.
Avoid deep cabinets beneath both runs. Open legroom makes a small corner easier to enter and clean.
Common mistakes
Buying by overall width only. Both wall runs and desktop depths matter.
Putting the primary monitor on the diagonal by default. Test keyboard approach and leg clearance first.
Choosing the wrong return orientation. Read the diagram, not only the label.
Filling the corner with storage. The chair and knees need the deepest area.
Using an unsupported long top. Follow manufacturer span and load rules.
Routing cables after assembly. The inner corner is difficult to reach later.
Treating more surface as more productivity. Give every zone a recurring purpose.
Final setup sequence
- Mark the footprint with painter’s tape.
- Place paper cutouts for monitor, keyboard and mouse.
- Roll the chair through its complete path.
- Confirm doors, drawers and windows work.
- Assemble and level the desk.
- Center the primary work zone.
- Adjust chair and monitor.
- Route power and data cables.
- Test one week before adding storage.
Final recommendation
Use one straight run for focused computer work and assign the return a different job. Face the corner only when its edge, depth and support structure allow the keyboard, mouse, monitor and body to remain centered.
Measure wall runs, under-desk clearance and chair travel before ordering. A good corner desk setup earns its footprint by adding a second useful zone without introducing twisting, blocked knees or an inaccessible cable nest.