How to Set Up an Ergonomic Laptop Workstation
Set up an ergonomic laptop workstation with the right screen height, separate input devices, chair support and portable options for home or travel.
What to know first
- Neutral, supported positions matter more than perfect posture.
- Movement throughout the day is part of the setup.
- Persistent pain deserves advice from a qualified clinician.
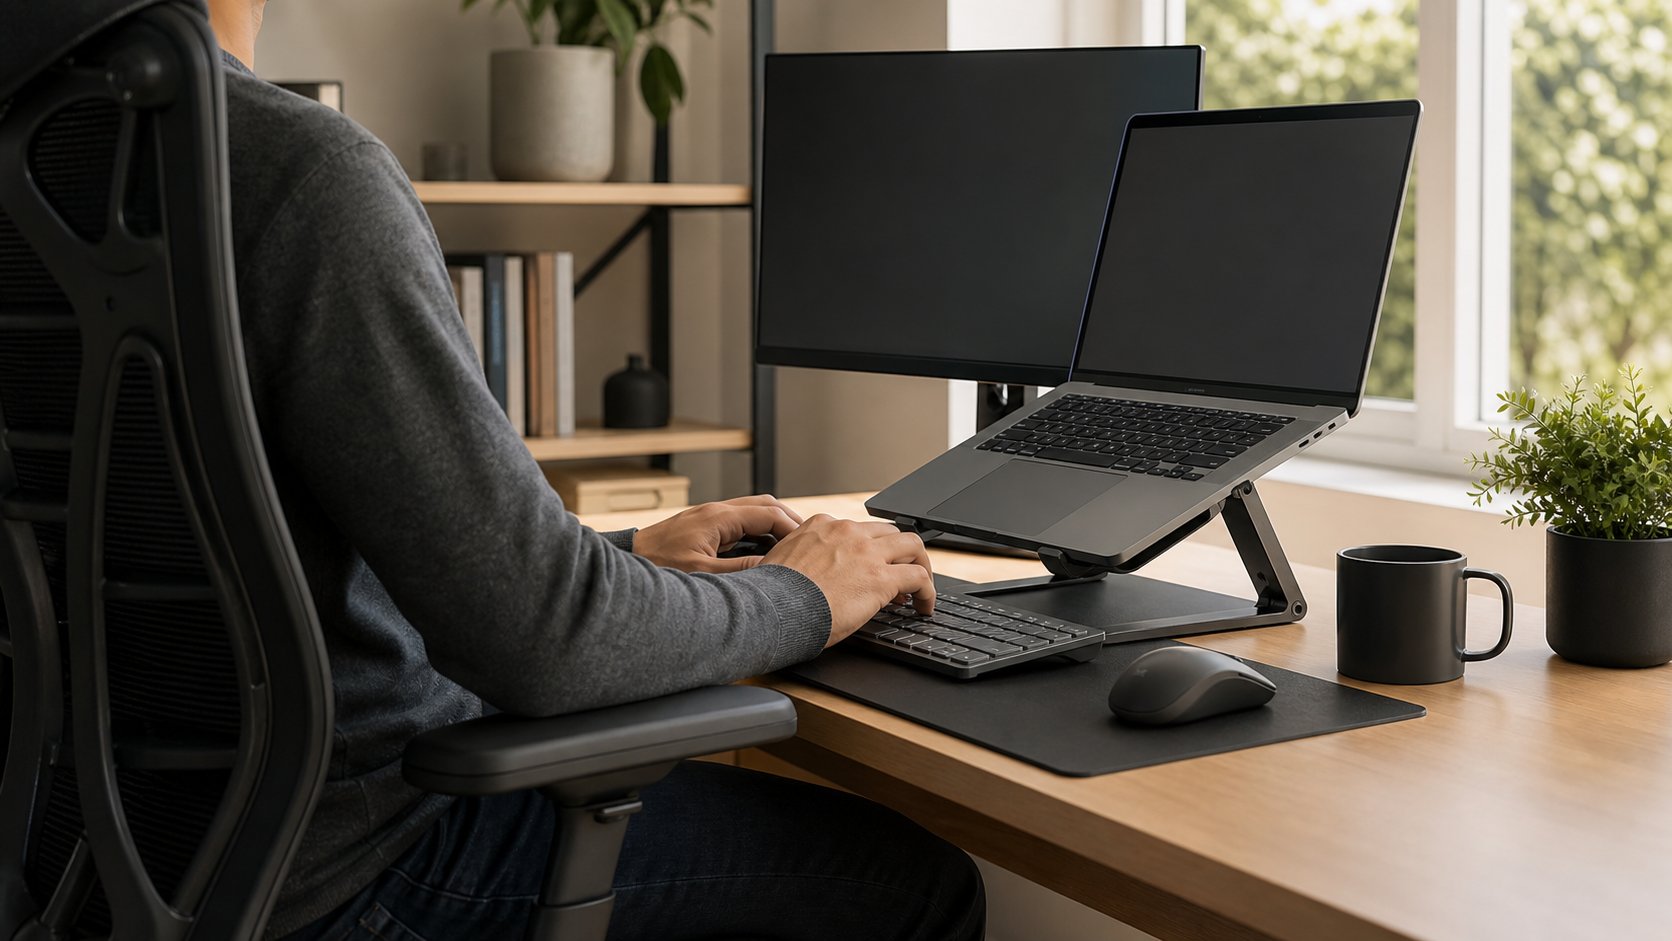
An ergonomic laptop workstation separates the screen from the keyboard. Raise the laptop until the display can be viewed without sustained neck bending, then use an external keyboard and mouse close to the body. Support the feet and back, keep the shoulders relaxed and change position throughout the day.
For a five-minute email session, that full setup is unnecessary. For hours of daily laptop work, it is the most important change.
Three laptop setup levels
| Duration | Setup | Best use |
|---|---|---|
| Under 20 minutes | Laptop on a firm surface | Quick task or check-in |
| 20–90 minutes | Improved chair, text size, frequent changes | Temporary room or travel |
| Repeated long sessions | Raised laptop, external keyboard and mouse | Primary home workstation |
Duration and repetition matter. A temporary compromise becomes a workstation problem when it is repeated every day.
Why a laptop creates a trade-off
When the laptop keyboard is at a comfortable hand height, the screen is usually too low. When the screen is raised, the attached keyboard becomes too high and far away.
There is no adjustment that solves both while the two remain attached. Separate input devices create independent control.
The US Occupational Safety and Health Administration says laptops used as primary computers for intensive keyboard work should have auxiliary full-sized keyboards and monitors. Its computer workstation guidance also recommends keeping frequently used components directly ahead and within easy reach.
The full home-office setup
Step 1: Fit the chair to the input devices
Sit with the back supported and feet on the floor. Adjust chair height so the elbows can stay close to the torso while hands reach the keyboard.
If the desk is fixed too high, raise the chair and add a stable footrest. If the desk is low, avoid raising the keyboard on a thick stand.
Armrests should support without lifting the shoulders or preventing the chair from approaching the desk.
Step 2: Add an external keyboard and mouse
Place them on the same surface, close together and near the desk edge. Keep enough space to rest the hands during pauses without pressing the wrists against a sharp edge.
A compact keyboard can reduce mouse reach. A full-size layout may still be appropriate for frequent numerical entry. Choose for the task rather than for appearance.
Wireless devices reduce cable clutter but require battery management and compliance with employer security rules. A basic wired set is reliable and inexpensive.
Step 3: Raise the laptop safely
Use a stable stand rated for the laptop or a broad, non-slip platform. The entire device should remain supported and ventilation openings must stay clear.
Start with the top of the screen around eye level or slightly below, then adjust for comfort, screen size and eyewear. The display should be far enough away to read without leaning—often roughly an arm’s length.
Do not build a tall stack of loose books. A lower stable position is better than an unstable ideal height.
Step 4: Center the screen
Place the laptop directly ahead when it is the primary display. If using an external monitor most of the time, center that monitor and move the laptop to the side as a secondary screen.
Frequent work on a side screen creates repeated head turning. Put communication or reference material on the secondary display and active work on the centered one.
Read the monitor-height guide for bifocals, large screens and multiple displays.
Step 5: Control glare and readability
Turn the screen perpendicular to windows where possible. Adjust blinds or lamp position to reduce reflections.
Increase operating-system scaling and document zoom before moving the face toward the screen. Clean the display according to manufacturer guidance.
Step 6: Connect power without creating cable strain
Route the charger so the connector is not pulled sideways. Keep the power brick ventilated and off soft furnishings. Use only compatible chargers and cables with the required power rating.
Keep cables outside knee and caster paths. A small reusable tie can preserve service slack without creating a tight coil around a hot adapter.
Laptop plus external monitor
For regular work, an external monitor can provide a larger, independently adjustable display.
Best arrangement
- Center the external monitor.
- Put the laptop on a stand beside it.
- Use one external keyboard and mouse.
- Align the displays’ upper usable areas approximately.
- Put the most-used application on the centered screen.
If both screens are used equally, place their inner edges near the body’s center and turn them slightly inward. If one is primary, center it and angle the secondary.
Check the laptop’s display support before buying a dock. Our USB-C hub guide explains power delivery and monitor compatibility.
A minimal portable kit
A practical travel kit can include:
- Foldable laptop stand with a reliable lock
- Compact keyboard
- Small mouse
- USB-C charger approved for the laptop
- Correctly rated charging cable
- Headset
- Short extension or regional adapter from a reputable source
The stand should not have sharp edges that damage the computer. Pack the keyboard against a rigid item so keys are not held down in transit.
Do not connect unknown USB charging stations or accessories to a work laptop. Follow organizational travel-security rules.
Hotel-room setup
Hotel desks and chairs vary. Use this order:
- Choose the firmest useful chair.
- Adjust seating so hands reach the keyboard without raised shoulders.
- Support feet with stable luggage only if it cannot roll or tip.
- Raise the laptop for longer work and connect portable input devices.
- Use a towel or clothing only for seating comfort, never under a powered laptop.
- Change position frequently.
Limit long sessions on beds, sofas and low coffee tables. They provide poor screen and input-device relationships and may block cooling.
Coworking setup
Before settling in, inspect desk height, chair adjustment, power access and background noise.
Use the same external keyboard and mouse each visit. Consistency makes setup faster.
Clean shared equipment appropriately, use a privacy screen only when necessary and avoid taking confidential calls where others can overhear.
Laptop workstation measurements
Do not chase a universal centimeter target. Record functional measurements:
- Chair height where shoulders relax
- Foot support height required
- Distance from eyes to screen
- Stand height that avoids sustained neck bend
- Clear keyboard and mouse depth
- Maximum stand footprint
Those measurements guide purchases better than height calculators.
Common laptop setup mistakes
Raising the laptop without adding input devices
The screen improves while shoulders and wrists worsen. Use the raised position for passive viewing only.
Putting the laptop beside the main screen but working on it all day
Make the most-used screen central.
Buying a stand that blocks ventilation
Check vent placement and manufacturer requirements.
Typing with the mouse far to the side
Keep input devices together. A compact keyboard may help.
Working from the sofa every day
Soft seating makes stable input, screen height and back support difficult.
Using a charger based only on connector shape
USB-C does not guarantee the required wattage or protocol. Verify laptop, cable and charger specifications.
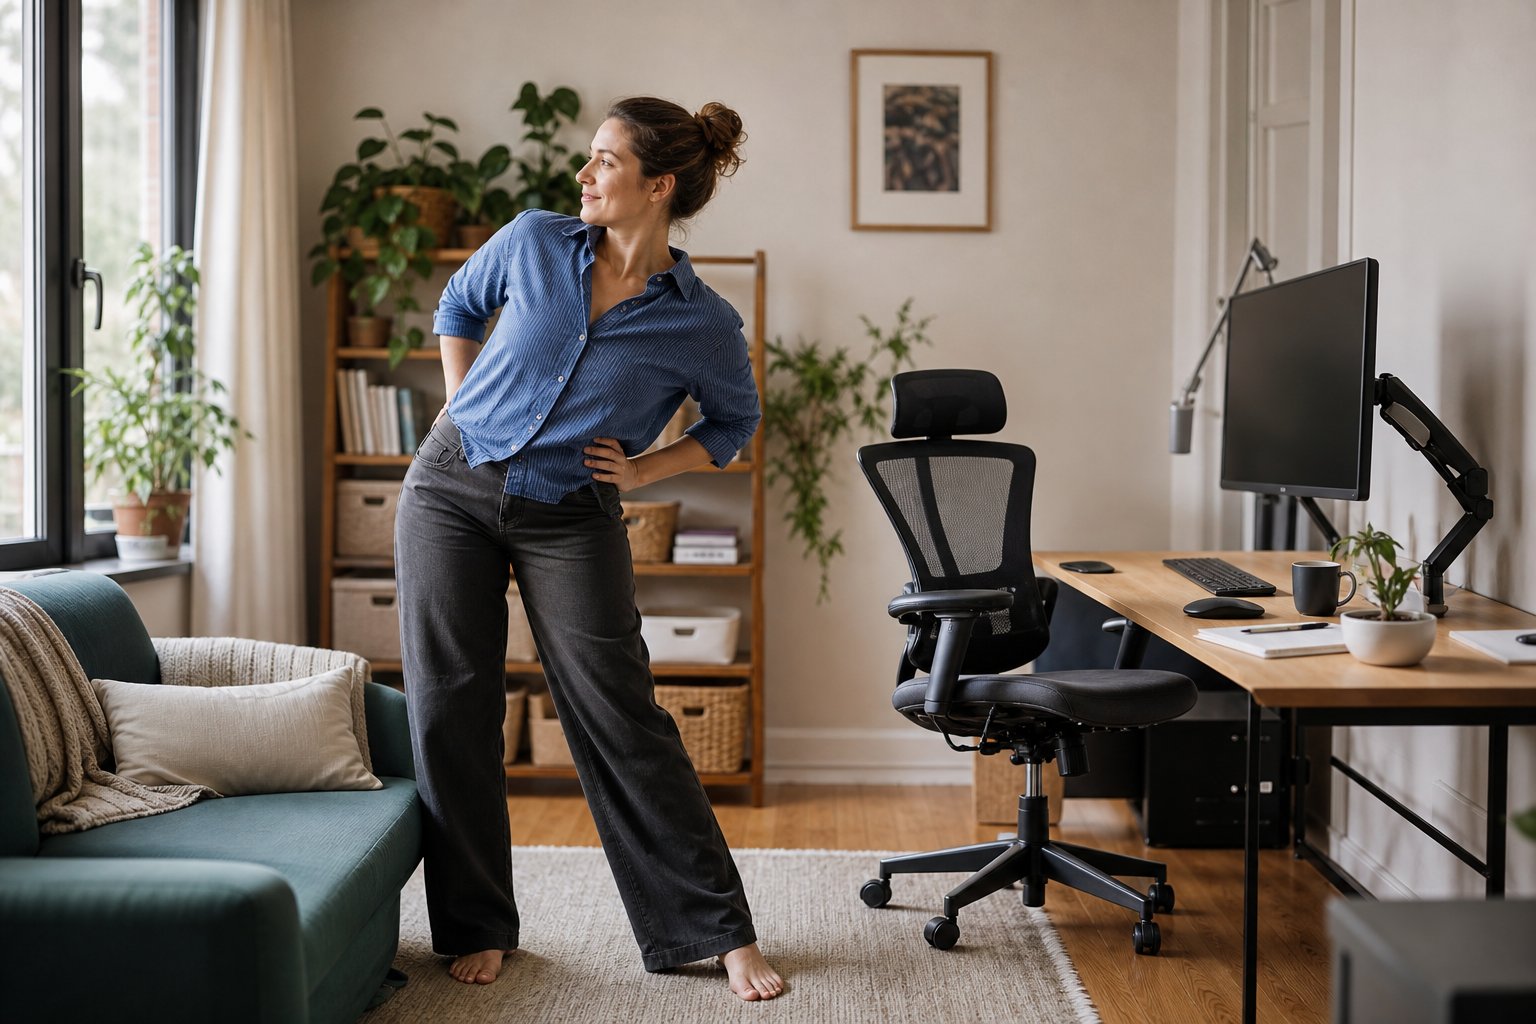
Movement is part of the workstation
An ergonomic arrangement reduces avoidable strain; it does not make prolonged stillness harmless.
Use natural transitions:
- Stand after a meeting
- Look away while a file exports
- Walk during an audio-only call
- Refill water between focus blocks
- Change seated position
- Alternate screen and non-screen tasks
The UK Health and Safety Executive recommends short, frequent breaks or changes of activity that allow movement, posture change and eye rest; see its display-screen work guidance.
When discomfort needs more than setup advice
Persistent or worsening neck, back, arm or wrist symptoms should be assessed by a qualified clinician. Seek timely care for weakness, numbness, tingling, severe pain after trauma or other concerning symptoms.
Workstation setup is not a diagnosis. Use the neck-strain guide for cautious practical changes and escalation signs.
Shopping order
If current equipment cannot create the full setup, buy in this order:
- External keyboard and mouse
- Stable laptop stand
- Footrest if the feet lack support
- External monitor if screen size limits work
- Dock only when ports and one-cable connection justify it
- Chair or desk after measuring the unresolved limitation
The first two items solve the laptop’s core compromise at relatively low cost.
Final recommendation
For an ergonomic laptop workstation, raise the display and separate the keyboard and mouse. Fit chair height to the hands, support the feet, center the primary screen and increase text size before leaning forward.
Use a lighter version for short sessions and the full setup for repeated long work. No arrangement eliminates the need to move, but a stable screen and independent input devices remove the laptop’s most predictable ergonomic trade-off.